
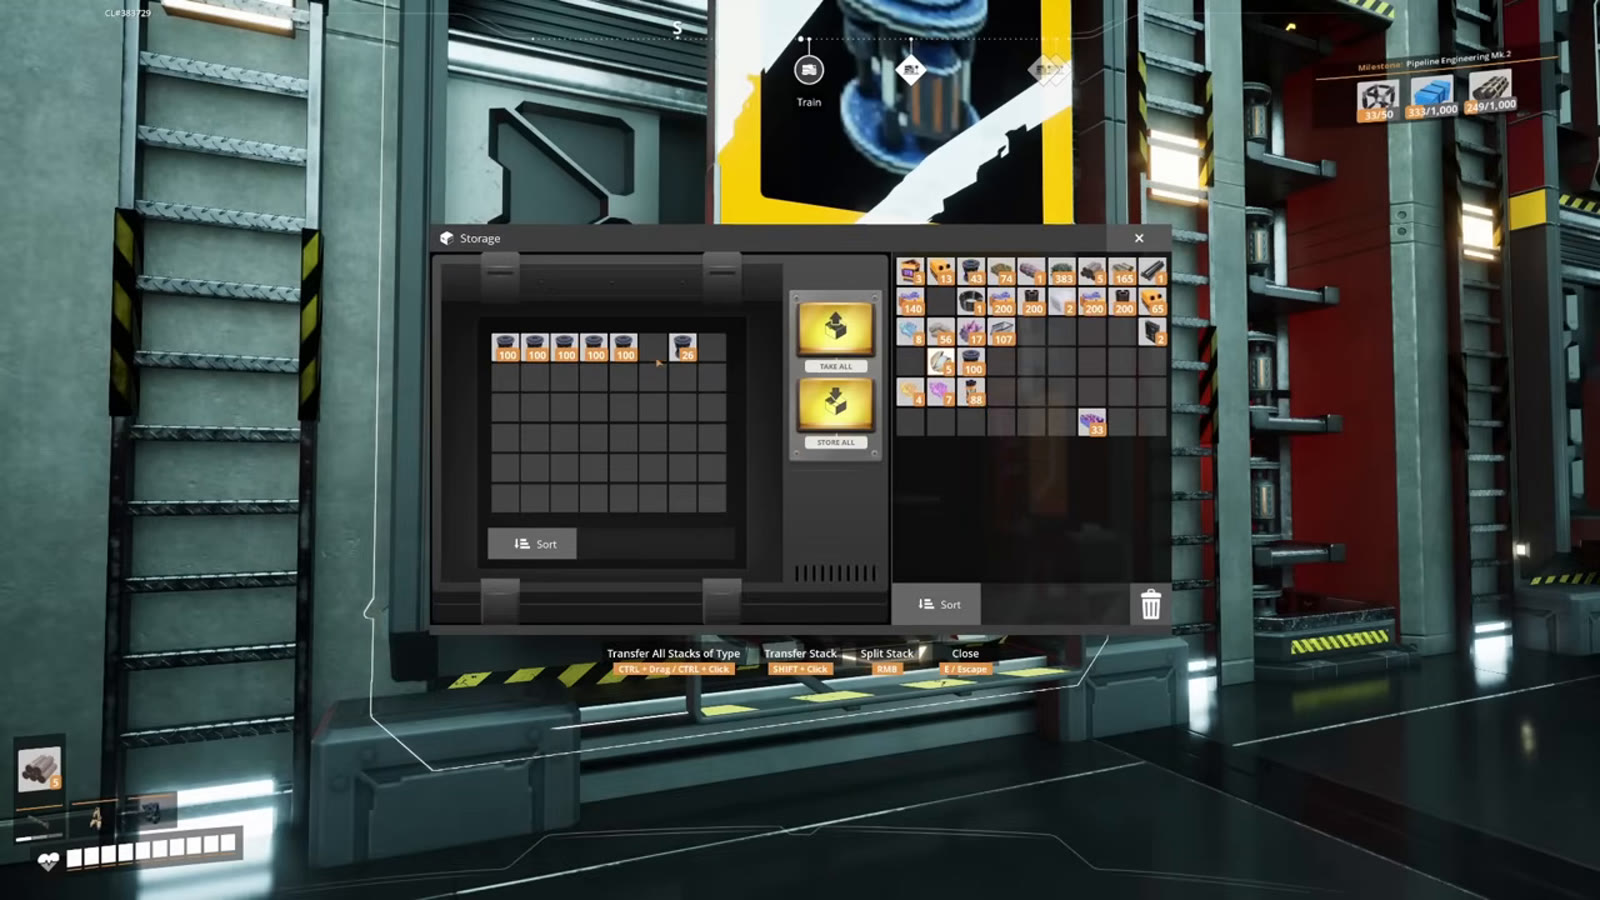
Quick answer: The Dimensional Depot removed most of the need for central storage, but not all of it — Depot Uploaders only take one item type each and cap at 240 items/min fully upgraded, so anything you produce faster than that, or want to browse visually, still benefits from a dedicated building. This guide's three-floor design puts the Depot on the bottom, sorted Industrial Storage Containers in the middle, and AWESOME Sink lines on top, all in one mirrorable blueprint.
- free costs nothing
- cheap small cost
- setup needs preparation
- grind pays off slowly
- skip the thing to stop doing
Central storage layout at a glance
| Floor | Function | Buildings | Notes |
|---|---|---|---|
| Bottom | Dimensional Depot | Depot Uploaders, one per item | Feed each with a Mk.3 belt (270/min) so the belt never bottlenecks even fully upgraded (240/min max). |
| Middle | Sorted overflow storage | Smart Splitters + Industrial Storage Containers | One Smart Splitter + one 48-slot container per item; Depot output is prioritized first, storage is the overflow. |
| Middle (shared) | Miscellaneous cleanup | "Sushi belt" + Smart Splitters | A single shared belt past every splitter, each grabbing its own item; whatever's left reaches the Sink untouched. |
| Top | Disposal | Conveyor lifts, mergers, AWESOME Sink | Merges every splitter's overflow onto one line — one Sink per facility, or a shared Sink across several. |
The whole thing is built as a single Tier 2 Blueprint Designer blueprint, which is what makes it repeatable and upgradable as your factory grows rather than something you redesign from scratch each time.
Central storage blueprint: size and how to mirror it
The three floors fit inside a single Tier 2 Blueprint Designer blueprint (40×40×40 m buildable volume — see our Blueprint Designer guide for exact Mk.1-Mk.3 sizes). Save it once with that footprint and you can stamp out additional copies wherever you need more storage.
Placing two identical (non-mirrored) copies next to each other causes their conveyor lifts to clash, since the lift positioning is asymmetric by design. Build a second, deliberately mirrored version of the same blueprint and alternate between the two when placing multiple copies — that's what lets facilities snap together cleanly along a shared wall instead of looking visibly mismatched.
Three floors, one blueprint

The design in this guide splits cleanly into three levels built as a single Tier 2 Blueprint Designer blueprint: the Dimensional Depot sits on the ground floor, the main storage facility with overflow Industrial Storage Containers occupies the middle floor, and dedicated AWESOME Sink lines run along the top.
Why the belt tier for your Depot feed matters

The Dimensional Depot Uploader starts at 15 items/min and doubles with each of four MAM upgrades, topping out at 240 items/min fully upgraded — confirmed on the current Satisfactory Wiki. Since a Conveyor Belt Mk.3 carries up to 270 items/min, feeding each Uploader with a Mk.3 belt means the belt itself is never the bottleneck at any upgrade stage, so you won't need to revisit that segment later even as you research faster upload speeds. (This guide's source video refers to this as a "Mark I belt" at one point — its own auto-generated captions appear to have mistranscribed "Mark 3," since a Mk.1 belt caps at only 60 items/min, well under the Depot's maximum. The 270 figure only lines up with a Mk.3 belt.)
Sorting into storage with Smart Splitters

Each item gets its own Smart Splitter feeding a dedicated Industrial Storage Container — confirmed on the current Satisfactory Wiki, an Industrial Storage Container holds 48 item slots (double the 24 slots of a regular Storage Container) and has two inputs and two outputs rather than one of each, which is what makes it the better fit for a central storage build over the basic container. Prioritizing the Dimensional Depot output first and treating storage as the overflow (rather than the reverse) matters early on: the Depot's limited stack capacity fills up fast, so sending the backlog to storage first avoids a jam at the Uploader itself.
The "sushi belt" overflow trick

For items you want to clear out of your inventory but don't want to sort by hand, this build uses what the source video calls a "sushi belt": a single shared belt running past every Smart Splitter in the facility, each one configured to pull off its own dedicated item (set as the "any" side output, matching the specific resource that storage line handles) while passing everything else through unchanged. Anything left on the belt after passing every splitter falls through to an AWESOME Sink at the far end, so nothing manually dumped onto that belt ever needs individual sorting — see our Smart Splitter sorting guide for more on how this generalizes to other belt layouts.
Decorating without breaking the layout

Beyond pure function, the build layers in display elements that make a large storage room easier to navigate at a glance: a beam running beneath each Industrial Storage Container to visually break up the row, label signs identifying what's stored where, and lit barriers and billboards for ambient lighting rather than relying only on default room lighting. None of this affects throughput — it's there so a player skimming a wall of identical containers can actually tell them apart quickly, which matters more than it sounds like once a save has fifty-plus tracked resources.
Top floor: sink lines

The top floor collects every splitter's overflow output via conveyor lifts, merges them onto one line, and runs that into an AWESOME Sink. Whether to give each blueprint copy its own dedicated Sink or route multiple facilities to a single shared one is a genuine tradeoff rather than a clear-cut choice — a dedicated Sink per facility is simpler to reason about, while a single shared Sink downstream of several merged lines is less redundant hardware for the same result.
Seeing it in action

In a completed save, the practical use case is straightforward: walk in, grab whatever you need from a labeled Industrial Storage Container, and dump anything you don't want onto the sushi belt on your way out. The visual payoff — organized, lit, clearly labeled storage rather than a pile of unmarked containers — is as much the point of a build like this as the underlying sorting logic.
FAQ
Do you need central storage with the Dimensional Depot? Not strictly, but it still helps in two cases: when a single item type produces faster than the Depot's 240 items/min fully-upgraded cap, or when you just want to browse your stockpile visually rather than through the Depot's menu. This guide's design treats the Depot as the primary destination and central storage as the overflow and visual layer on top of it.
How many items/min can a Dimensional Depot Uploader handle? It starts at 15 items/min and doubles with each of four MAM upgrades, topping out at 240 items/min fully upgraded.
What belt tier should feed a Dimensional Depot Uploader? Mk.3 (270 items/min) — it exceeds the Depot's 240 items/min maximum at every upgrade stage, so the belt is never the bottleneck and never needs revisiting later.
Why use Industrial Storage Containers instead of regular ones? An Industrial Storage Container holds 48 item slots (double a regular container's 24) and has two inputs and two outputs instead of one of each, which fits a sorted central-storage build better than the basic container.
Can I place multiple copies of this storage blueprint next to each other? Only if you mirror alternating copies. Two identical, non-mirrored copies placed side by side will have their conveyor lifts clash, since the lift positioning is asymmetric by design — build a mirrored second version and alternate between the two.
Sources
The Dimensional Depot Uploader's upload speed progression (15 → 30 → 60 → 120 → 240 items/min across four MAM upgrades) and the Industrial Storage Container's 48-slot capacity (double the 24 slots of a regular Storage Container, with two inputs/outputs instead of one) are both confirmed on the current Satisfactory Wiki. Conveyor Belt Mk.3's 270 items/min throughput is also wiki-confirmed and is what corrects this guide's one factual gap with its source video — the video's auto-generated captions say "Mark I" where the maximum speed cited (270) only matches a Mk.3 belt, a transcription artifact rather than a real disagreement about game mechanics. Every build step, the sushi-belt overflow design and the mirrored-blueprint requirement come directly from the source video's own on-screen build.
Read next
- Satisfactory Dimensional Depot & Mercer Sphere Guide — Depot upgrades in depth
- Satisfactory Blueprint Designer Guide — exact sizes for this blueprint
- Satisfactory Conveyor Belt & Logistics Guide — Smart Splitter sorting explained
Frequently asked
Do I still need a central storage system if I have a Dimensional Depot?
Often yes — a Dimensional Depot Uploader only takes one item type and caps at 240 items/min even fully upgraded, so anything produced faster than that or needing visual organization still benefits from dedicated storage. Whether it's worth building is genuinely a matter of preference rather than a settled question.
How much can an Industrial Storage Container hold in Satisfactory?
48 item slots — double the 24 slots of a regular Storage Container — confirmed on the current Satisfactory Wiki. It also has two inputs and two outputs instead of one of each, which is why it's the better fit for a sorted central storage build.
What belt should feed a Dimensional Depot Uploader?
A Conveyor Belt Mk.3 or better — it carries 270 items/min, which exceeds the Depot's maximum 240 items/min upload speed even fully upgraded. Using a Mk.3 belt from the start means that segment never needs revisiting as you research faster upload speeds.
What is a sushi belt in Satisfactory?
A single shared conveyor belt running past multiple Smart Splitters, where each splitter pulls off only its own dedicated item and passes everything else through. It's a way to dump miscellaneous inventory clutter onto one belt and have it automatically sort itself into storage, with any leftovers reaching an AWESOME Sink at the end.
Why do I need a mirrored version of my storage blueprint?
Placing two identical, non-mirrored copies of an asymmetric blueprint side by side causes their conveyor lifts to clash with each other. Building a deliberately mirrored second version and alternating between the two when placing multiple copies avoids this and lets facilities snap together cleanly.
Read next
Satisfactory Dimensional Depot 1.2: Upgrades & Crafting
How to unlock, upgrade and place the Dimensional Depot in Satisfactory 1.0 — upload speeds, Mercer Sphere upgrade costs, the Manual Uploader, what's worth storing, and where to put your Uploaders for the best throughput.
Satisfactory AWESOME Sink & Coupon Farming Guide: 5 Fast Strategies
The five fastest coupon strategies to unlock every non-producible item in the AWESOME Shop (1,895 coupons total): Somersloop-boosted Alien DNA Capsules, crash site loot runs, AFK farming, disposable blueprint factories on unused nodes, and Somersloop-doubled endgame items.