
🎯 The core idea
Combat is a minor system in Satisfactory, but showing up unprepared to deal with the wrong creature is still how new pioneers die. This guide's source video is genuinely useful for its structure and tactics -- how to approach each hostile creature, when to heal, when to use cover -- but it's from 2022, well before Update 1.0, and a close check against the current Satisfactory Wiki found real drift in the specific numbers: weapon damage, magazine sizes, and even which creatures have which stats have all changed since. This guide keeps the video's tactical advice and replaces every number with the current wiki's figures, flagging the corrections that matter for beginners specifically.
- free costs nothing
- cheap small cost
- setup needs preparation
- grind pays off slowly
- skip the thing to stop doing
Health and healing before you go looking for a fight

Max health is 100, and it regenerates automatically outside combat, but only up to 30 -- enough for the easiest early creatures, not enough to walk into anything tougher without topping up first. The Beryl Nut (5 HP), Paleberry (10 HP) and Bacon Agaric (20 HP) all heal on the spot and are found growing in the open world, no MAM research required. The Medicinal Inhaler is the upgrade: it heals to full, and it's unlocked in the MAM through either the Nutritional Inhaler recipe (Bacon Agaric, Paleberry and Beryl Nut combined) or the Protein Inhaler recipe (Beryl Nut plus Alien Protein) -- the second is the one worth prioritizing if you're already fighting Spitters and Stingers for their drops, since Alien Protein is a byproduct of both.
The Xeno-Zapper and Xeno-Basher: melee weapons compared

The Xeno-Zapper is the starting weapon -- 5 damage per hit, with a double left-click landing two quick hits in succession -- and it's available from the very start of the game, not gated behind any tier. The Xeno-Basher is the upgrade, unlocked at Tier 3 (Enhanced Asset Security), and this is where the source video's numbers are outdated: it currently deals a flat 9 damage per hit with no combo mechanic, not the escalating 7-then-14 damage double-attack the video demonstrates. The combo was removed in a later patch, so a Xeno-Basher swing is just a stronger single hit now, not a two-part attack.
Ranged weapons: Rebar Gun vs Rifle

Both the Rebar Gun and the Rifle are MAM unlocks, and the Rebar Gun is genuinely the cheaper, faster path to a ranged weapon since it needs no Motor in its crafting chain, unlike the Rifle. Standard Rebar Gun ammo deals 13 damage per hit (not 15), the projectile arcs so you have to aim above a distant target, and it reloads after every single shot -- slow, but hard-hitting. The Rifle's standard ammo deals 5 damage per hit (not 6), fires as a true hitscan shot with no drop or travel time so it's much easier to land, and holds 15 rounds per magazine before reloading, not 10. The Rifle's base fire rate is capped and actually fairly modest; the "fires rapidly" feel really comes from Turbo Rifle Ammo, which ramps up from roughly 2.5 to 17.5 rounds per second the longer the trigger is held.
Nobelisks as a combat tool
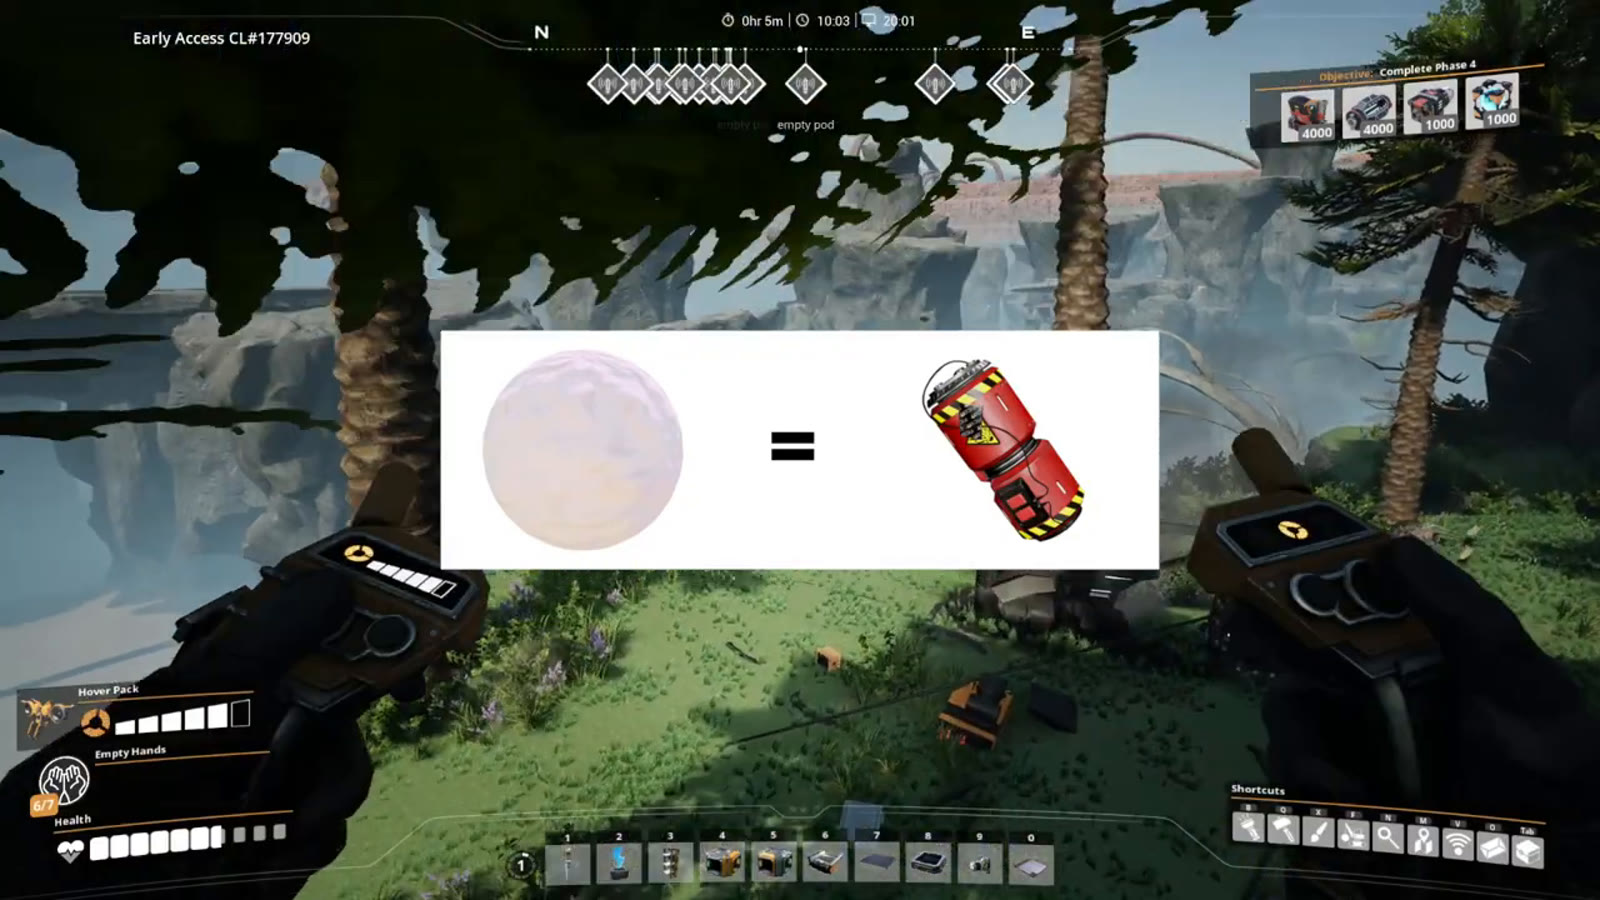
The Nobelisk is normally a demolition charge for boulders, but thrown at an enemy it becomes a weapon: anything within 7.5 meters of the detonation point takes damage, up to a maximum of around 50 at the center of the blast. A thrown Nobelisk sticks to whatever surface it lands on, including a creature directly, which is the source video's trick for guaranteeing a hit rather than hoping something wanders into range. During the FICSMAS seasonal event, Snowballs are a genuine, officially supported alternate ammo for the Nobelisk Detonator with the same 7.5-meter radius -- not just a novelty the video happened to show off.
Hogs and Alpha Hogs: block the escape path

The basic Hog has 20 HP and hits for 10 damage on its charge attack, which telegraphs clearly enough to dodge by stepping or jumping aside as it closes in -- two double-hits from a Xeno-Zapper, or a single Xeno-Basher combo's worth of hits, is enough to kill one. The Alpha Hog is a genuinely tougher fight, with 80 HP, a 20-damage charge that can knock you off high ground, and a 30-damage bite in melee range. The source video's tactic still holds: fight from a ladder or other elevated position out of melee range, using a Rifle, Rebar Gun or thrown Nobelisks, and if the Alpha tries to flee, block its escape path with Conveyor Splitters (easier to place quickly) rather than walls, since walls need a foundation underneath and you generally can't drop a foundation directly under a fleeing creature.
Flying Crabs are fragile but hit harder than they look

The small flying creatures near a Hatcher nest are officially called Flying Crabs, and this is one of the biggest numeric flips from the source video: they now have just 1 HP (down from what the video shows) but deal 10 damage per hit (up from the video's number) -- effectively a one-shot kill in either direction, whoever swings first. Since they fly erratically and often attack from behind, the reliable approach is still what the video recommends: pick them off with a Rifle from a distance where they can't reach you, or simply destroy the Hatcher nest itself (20 HP, or 40 HP for the tougher Elite Flying Crab Hatcher added since 1.0) and let the crabs despawn along with it rather than chasing individual ones down.
Spitters: the classification changed, not just the numbers

This is the section that needed the most rework. The source video describes a simple two-tier system -- basic Spitters, then red and green Alpha variants -- but the current wiki organizes Spitters into four biome-specific variants instead: Aquatic and Desert Spitters (20 HP), and Forest and Red Forest Spitters (30 HP), each with its own damage ranges rather than a single flat number. Alpha Spitters follow the same biome split at higher HP (60 for Aquatic/Desert, 80 for Forest/Red Forest), and their attacks can hit considerably harder than a flat 20 damage cap in the worst cases. The cooldown between fireballs that the video describes is still accurate and still the best opening to close distance and land hits, and using an Industrial Container as cover to block incoming fireballs while you reload or heal still works exactly as shown.
Spore Flowers: not a threat, just an obstacle

Spore Flowers don't attack directly -- they emit a lingering poison gas cloud that damages anything standing in it, and they're immune to conventional weapon damage entirely. The only ways to remove one are a thrown Nobelisk or Explosive Rebar ammunition, exactly as the source video demonstrates; a gas mask or Iodine-Infused Filter is the safer answer if the goal is just to walk past rather than clear the flower.
Stingers: the leap range correction matters for safety

Basic Stingers (sometimes called Baby Stingers) have 10 HP and hit for a flat 5 damage, easy enough to clear with a couple of Xeno-Zapper swings. Alpha Stingers step up to 50 HP, a 30-damage melee slash, and a leap attack dealing 50 damage on a hit -- and here's the correction worth remembering: the source video states the leap has a 10-meter range, but the current wiki puts it at over 50 meters. Treating 10 meters as a safe distance, the way the video's tactic implies, is not safe at all against the current game. The toughest variant, the Elite Gas Stinger, has exactly double the Alpha's HP at 100, the same slash and leap attacks, plus a poison gas attack of its own (15-meter radius, 25-second duration) -- come in at full health with a gas mask ready, and it's genuinely no harder than an Alpha Stinger beyond that.
How this guide was fact-checked
Every weapon and creature statistic in this guide was checked against the current Satisfactory Wiki rather than taken from the source video, since the video predates Update 1.0 by more than two years. Several numbers had changed outright: the Xeno-Basher's damage and combo mechanic, the Rebar Gun's and Rifle's per-hit damage and magazine sizes, the Flying Crab's HP and damage (both flipped), the entire Spitter classification system (four biome variants replacing a simple two-tier system), and the Alpha Stinger's leap range, which the wiki puts at over 50 meters against the video's claimed 10. Figures that held up unchanged include the Xeno-Zapper's damage, Hog and Alpha Hog stats, Nobelisk blast radius and damage, the healing values of Beryl Nut, Paleberry and Bacon Agaric, and the basic Stinger's and Elite Gas Stinger's core stats. The tactical advice -- fighting from elevation, using cover, blocking a fleeing Alpha Hog's path, exploiting fireball cooldowns -- came from the source video and held up as sound regardless of the numeric drift underneath it.
What this guide doesn't answer
This guide doesn't cover the full Explosive Rebar, Stun Rebar or Shatter Rebar ammo types in build-cost detail, since the source video only demonstrates standard Rebar Gun ammo and a proper ammo comparison deserves its own dedicated breakdown. It also doesn't cover the Cliff Hanger or other late-game hazard-adjacent enemies some players group under "combat," since the source video's scope is limited to Hogs, Flying Crabs, Spitters, Spore Flowers and Stingers specifically. Finally, it doesn't give exact build costs for the Rebar Gun, Rifle, or Nobelisk Detonator themselves, since that belongs in a dedicated unlock-and-crafting reference rather than a combat tactics guide, and it's a tactics guide rather than a full hostile-creatures list with every environmental hazard included.