
🎯 The core idea
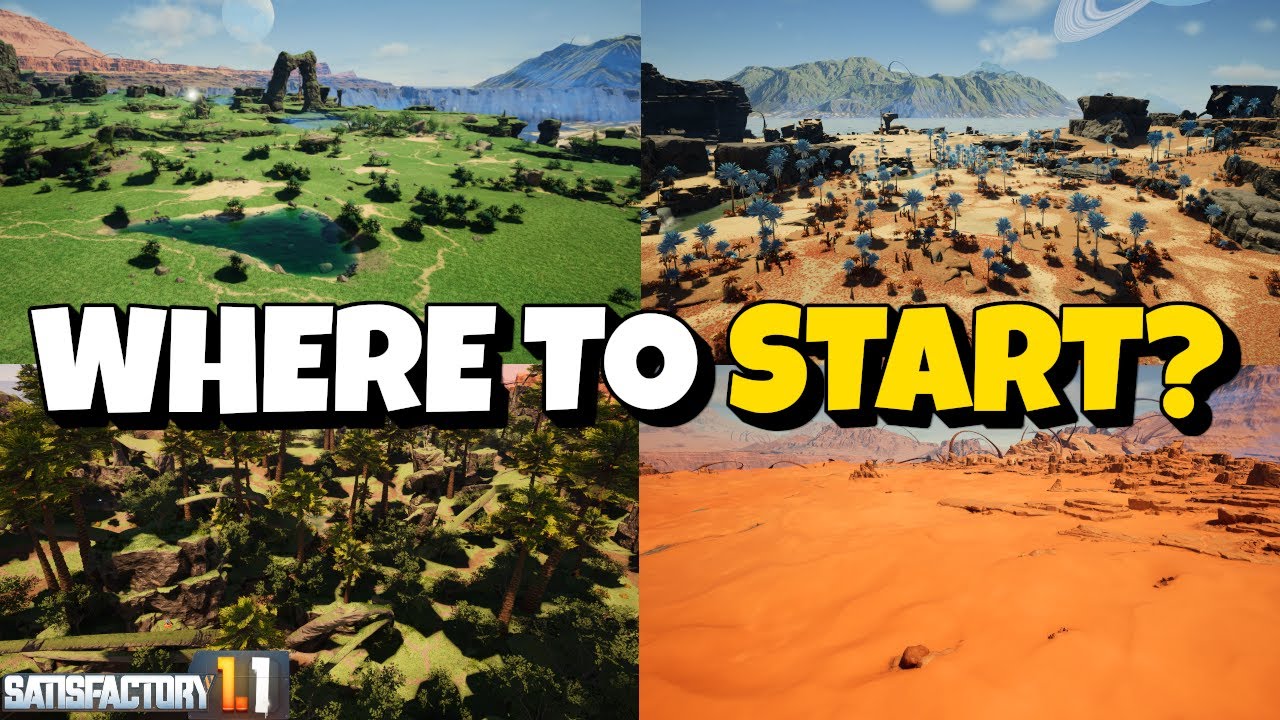
Every one of Satisfactory's four starting biomes — Grass Fields, Rocky Desert, Northern Forest, and Dune Desert — can support a full playthrough, so "best" is really a tier list of tradeoffs: node density versus buildable space, easy water versus scattered resources, beginner-friendly layout versus mega-factory potential. This guide compares all four using their actual resource counts, not vibes.
- free costs nothing
- cheap small cost
- setup needs preparation
- grind pays off slowly
- skip the thing to stop doing
How starting location actually works
Wherever you land, your HUB becomes the anchor of your whole save — the game does place a hard limit on how far you can wander before the HUB calls you back early on, so the resources within a few hundred meters of it matter far more than anything on the far side of the map. There's no way to relocate the HUB itself later, which is exactly why this decision is worth comparing carefully rather than picking on instinct. This is a starting-area comparison, not a strict ranked tier list — the video covers three spots each in Grass Fields, Rocky Desert and Dune Desert, and two in Northern Forest, plus a few bonus spots you can walk to but won't spawn in directly. Since this is the very first decision a new save asks you to make, the comparison below is aimed at beginners: each section weighs a biome's pros and cons in plain terms rather than assuming you already know the map.
Grass Fields: the classic beginner start

Grass Fields (the video calls it "grassy fields" — Grass Fields is the name the game itself uses) is the most commonly recommended starting biome, and the southernmost of its three good spots shows why: eight impure Iron nodes, two impure Copper nodes, a pure Coal node, and a pure Caterium node all within walking distance, plus six Somersloops, nine Mercer Spheres, 40 Power Slugs and five Hard Drives on the radar tower scan. The catch is water — the only nearby pond is tiny, and a real water source means running pipes to the ocean well outside the starting radius.
A second Grass Fields spot to the north trades some of that density for a better spread: three normal and six impure Iron nodes, several Limestone deposits, and easy access to four normal Coal nodes for an early power plant, plus 20 Mercer Spheres, seven Somersloops, 72 Power Slugs and eight Hard Drives. Water is still the weak point — the nearest real pool sits at the bottom of a crater. A third spot further east is the plainest of the three (mostly normal-purity nodes, one small unusable pond) but still workable, with six Somersloops, 15 Mercer Spheres, 50 Power Slugs and five Hard Drives nearby.
Rocky Desert: easiest early buildable space

The video calls the crater-lake spot in Rocky Desert one of the best locations in the whole game: three pure Iron nodes, one pure Copper node, scattered Limestone, and — critically — three pure Coal nodes right next to water on a cliff above, which is about as clean a coal power plant setup as the game offers. Add 22 Mercer Spheres, 72 Power Slugs, seven Somersloops and 12 Hard Drives, and this is the spot the source video's creator personally prefers over the more commonly recommended Northern Forest.
A second Rocky Desert spot to the west trades the great water access for six Iron nodes and easy Oil nearby (useful for tier five and six), with 14 Mercer Spheres, 37 Power Slugs, four Somersloops and four Hard Drives. A third spot in the north has good Iron and Limestone but only one workable Copper node, with 14 Mercer Spheres, 51 Power Slugs, four Somersloops and three Hard Drives — serviceable, but the weakest of the three.
Rocky Desert and Grass Fields are the two easiest biomes to build in overall — flatter, more open terrain than Northern Forest or Dune Desert, which matters more than raw resource count if this is your first playthrough.
Northern Forest: the mega-factory pick


The first Northern Forest spot has four pure Iron nodes, two pure Copper nodes, two pure Limestone deposits, nearby Caterium, Sulfur and Coal, and reasonably close Oil — a genuinely strong all-rounder with 153 Power Slugs, 28 Mercer Spheres, seven Somersloops and nine Hard Drives in range.
The second spot is the standout of the entire video: four-plus pure Iron nodes, a pure Copper node, pure and normal Limestone, nearby Quartz, Caterium, Sulfur and Coal, all within one radar tower's radius — 211 Power Slugs, 37 Mercer Spheres, 11 Somersloops and 16 Hard Drives. The tradeoff is terrain: space is limited enough that a mega-factory here has to build vertically, and the area has more aggressive fauna (including Uranium Hogs) than the gentler biomes.
Dune Desert: scattered resources, easy biomass


Dune Desert's resources are famously scattered rather than clustered — the video repeatedly notes there's "so much Iron it's insane" spread across the whole biome, plus workable Coal, Copper, Limestone and Caterium near most of its good starting spots, and heavier vegetation than the other three biomes, which makes early biomass power trivial to fuel. The southern spot has 64 Power Slugs, eight Somersloops and 18 Mercer Spheres nearby; a second spot by a large lake is one of the creator's personal favorites for an early coal power plant, with reliable water and 49 Power Slugs, 12 Mercer Spheres and seven Somersloops nearby (a comparatively light Hard Drive count at four). A third spot near the cliffs edge has the richest numbers of the three — 122 Power Slugs, 30 Mercer Spheres and 15 Somersloops — but sits beneath a cliff with a heavy Uranium Hog presence, making it the most dangerous of the good Dune Desert spots.
Bonus spots you can walk to, but won't spawn in

Several strong locations sit outside the four spawn biomes entirely and are only reachable by walking there after starting elsewhere. The standout is a Titan Forest spot near the Swamp, confirmed on the current Satisfactory Wiki as its own distinct biome: pure Copper, pure Iron, Caterium, Quartz, Sand, Coal, Sulfur, nearby Boxite and Uranium, and even nearby Oil — one of the densest resource spreads in the entire game, offset by an immediate Uranium Hog and Yellow Belly Hog presence right at the start. A handful of other walk-to spots near the Blue Crater and the edge of Rocky Desert offer similarly strong numbers for players willing to relocate after an initial start rather than spawn there directly.
So which one is actually best?

There's no single correct answer, which is why this reads as a comparison rather than a ranking. For raw mega-factory potential, it's a toss-up between Northern Forest and Dune Desert. For the easiest biome to actually build in, it's Rocky Desert or Grass Fields. For the best overall balance of resources, Rocky Desert, Northern Forest and Dune Desert are all defensible picks. The source video's own creator prefers the Rocky Desert crater-lake spot over the more commonly recommended Northern Forest — which is a useful reminder that "best" here is a matter of what you personally value, not a settled ranking.
Map and node layout have stayed stable across recent Satisfactory updates, so this comparison isn't tied to a specific patch the way recipe or building-cost guides can be.
How this guide was fact-checked
The four official starting biome names — Grass Fields, Rocky Desert, Northern Forest and Dune Desert — along with Titan Forest as a distinct, separately named biome, are confirmed on the current Satisfactory Wiki's Biomes page. Every node count, resource type, Power Slug/Mercer Sphere/Somersloop/Hard Drive figure, and the comparative recommendations in this guide come directly from the source video's own on-screen radar tower scans and map views. "Mercer Sphere" and "Somersloop" are the corrected game terms for what the video's auto-generated captions render as "merph sphere" and "summer sloop" — a transcription artifact, not a naming disagreement with the wiki.
What this guide doesn't answer
This guide compares starting biomes for general playthroughs — it doesn't cover speedrun-optimal starts, where the calculus changes entirely around specific early milestones rather than long-term resource balance. It also doesn't give exact coordinates for every spot mentioned; the video navigates by landmarks and radar tower scans rather than posting coordinates on screen, so anything more precise than "near this cliff" or "by this lake" isn't something this guide can honestly claim to know. Finally, it doesn't cover the handful of very early-game map changes some past Satisfactory updates have made to node placement — the Content Plan notes for this topic call the current layout low version-risk, but this guide reflects the map as of the source video's November 2025 upload, not a guarantee against any future change.