
🎯 The core idea
Brakkesh's biggest source of confusion isn't the loot, it's the New Tower of Babel — a signal-jammed, four-way maze that gates two of the map's four extraction points behind timed levers. This guide covers every extract on both Normal and Hard difficulty and gives a full room-by-room tour of the tower, recorded on the pre-launch test server ahead of Hard mode's global release.
- free costs nothing
- cheap small cost
- setup needs preparation
- grind pays off slowly
- skip the thing to stop doing
The four extraction points, and how Normal and Hard differ

Both Normal and Hard difficulty run a 30-minute match on Brakkesh, but the extracts available inside that window change meaningfully between the two. There are four extraction points in total: a bagless extract in the north, the Grand Hammam extract also in the north, the New Tower of Babel helicopter extract, and a dog tag extract at the very top of the tower. Not every one of these is available on both difficulties, and the ones that are available often run on different timers — getting this wrong is the easiest way to miss your window and end up stuck.

The Grand Hammam extract's lever is tucked upstairs inside that museum building overlooking this courtyard — easy to miss on a first pass since nothing on the exterior marks it, which is exactly why it's worth remembering the building rather than hunting for it mid-match.
The New Tower of Babel helicopter extract: two levers, one goal

Unlike Space City, where both levers have to be pulled to trigger this extract, Brakkesh only needs one of two. The first lever sits in the museum basement, in a computer room next to the bank vault; the second is inside the New Tower of Babel itself. Pulling either one starts a 4-minute countdown, and unlike the Hammam extract, this one has unlimited uses and can be triggered again and again for the rest of the match. On Normal difficulty it's available from the moment the match starts; on Hard, it's locked out for the first 10 minutes.
Spawn locations and the risk of a tower spawn

Around six teams spawn per match on Brakkesh, and only two spawn locations are anywhere near guaranteed: the east and west sides of the tower itself. Every other team spawn is more randomized across the rest of the map. Getting a tower spawn cuts both ways. If you don't want to enter the tower, teams that spawned slightly outside it can still push toward you with very few ways to disengage short of fighting or retreating inside yourself. And if you do go in from a tower spawn, you're not just watching for enemies already inside — teams can spawn behind you and follow you in.
Getting through the tower's outer gates

The east and west gates each have two switches that both open the same pair of doors — an upper door at the top of a staircase and a lower door — so you only ever need to pull one of the two. Doing so starts a 45-second countdown on both doors at once, with an audio cue that every team in earshot can hear, and the door then shows as grey (unlocked) on the map for anyone watching. The main central gate works the same way but with its own lever and a shorter 20-second countdown. There's a faster option too: the New Tower of Babel power supply access card, priced at roughly 400,000–500,000 in-game currency, lets you swipe straight through any of these doors immediately, skipping the countdown entirely — though the door still shows as opened on the map the moment you use it, so it isn't a stealth option.
Inside the tower: the lower floor loop

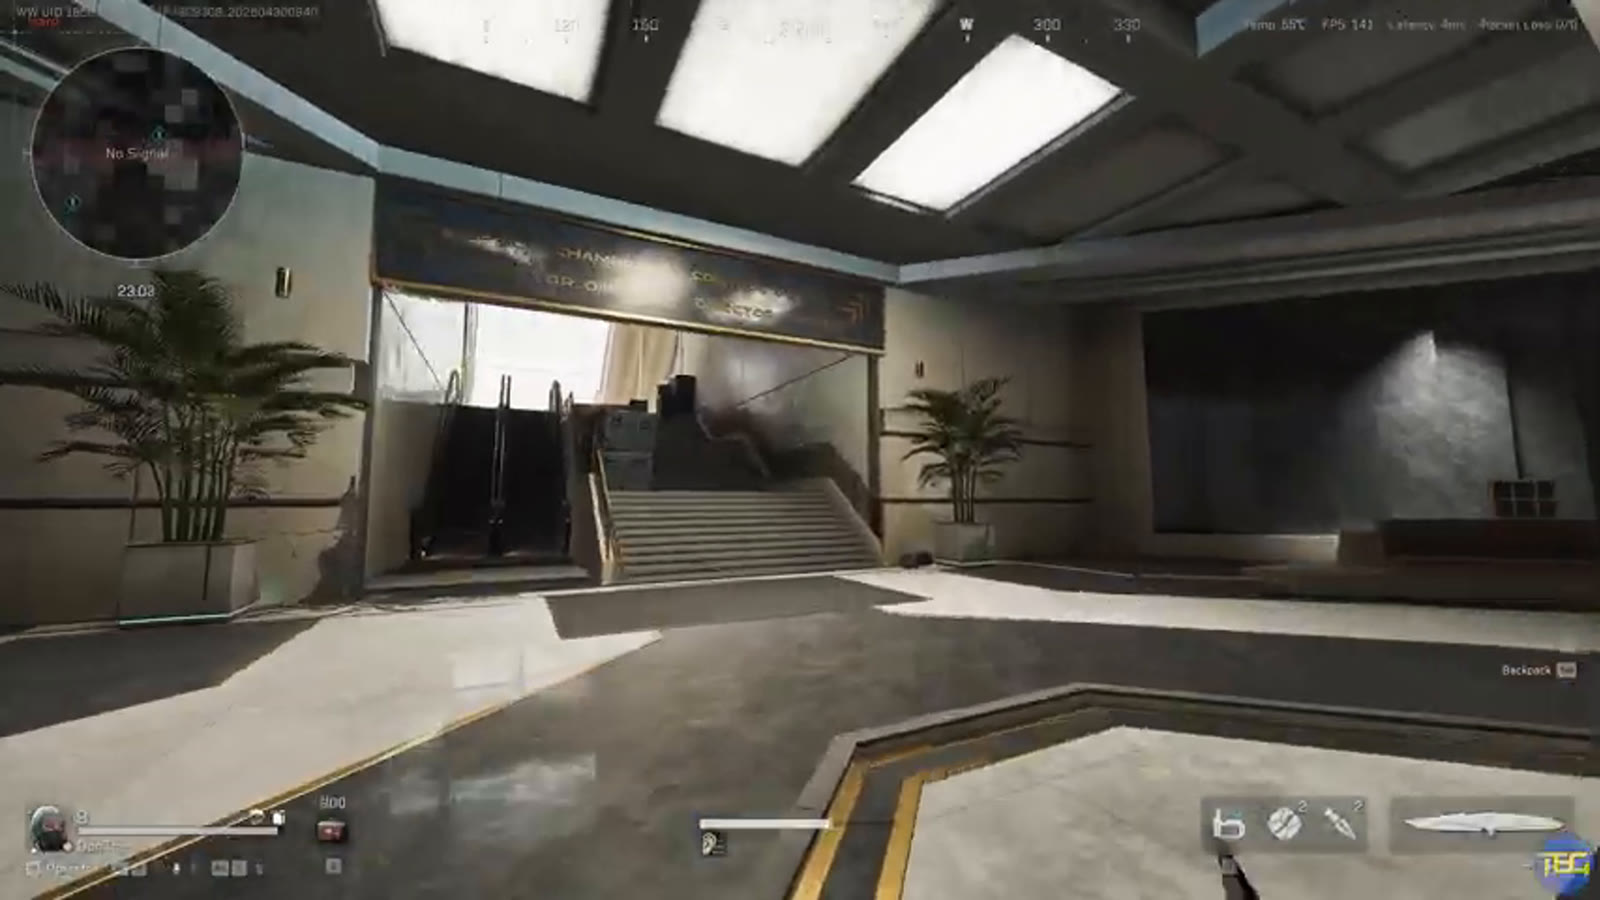
Three separate doors feed into the tower's lower floor — the main front gate, the east gate's lower door, and the west gate's lower door — and all three funnel toward a single central point. From there, the lower floor is built around a big central atrium with a loop of corridors running around it in a rough square, picking up the raised landing areas near each gate's upper stairs on the way round. There's loot scattered through the loop itself, but the real payoff is a central switch that has to be activated before you can reach the upper floors at all.
The central area: keycard rooms and a second extract lever

Past the central switch sits a cluster of rooms worth detouring for: a data-central/server control room, and the biological data server keycard room, reachable through a few different routes rather than one fixed path. This same central cluster also holds the second Tower of Babel extraction lever — the alternative to the museum basement one — so if you've already committed to fighting your way into the tower, you don't need to backtrack to the museum to trigger that extract.

Getting up to the tower's higher floors needs one specific lever in the room above this control area — there's only the one, no alternate switch — and pulling it starts a 2-minute-30 countdown. Once that expires, it opens three separate zipline doors at once (east, west and central), all visibly and audibly flagged to anyone nearby the same way the outer gate levers are.
Upper floors: the four corners and the central command room

The upper floors split into four corners around a central gantry area. The northeast and northwest corners are comparatively small — a server room with a flight case and often a large safe in the northeast, a looping corridor and two dead-end bathrooms (still worth checking for toilet loot) in the northwest. The southwest corner is much larger, built around a main command room with a big safe or laptop, plus a server room and a small gymnasium. A keycard-locked office along the way, plus an interrogation-room keycard and a combination-lock room solved through a neural uplink puzzle, round out the loot on this side — the combination puzzle is covered in full in this same creator's separate "all secrets" video rather than here. The central gantry area itself holds a safe-supplies mission trigger and a CEO conference room keycard that opens matching rooms from either side using the same card, so it's worth checking whether the other side has already been opened before spending it.
The southeast medical wing, the dog tag extract, and the top floor

The southeast corner is the map's medical wing, spread across two floors: several medical rooms, three dead-end side rooms all worth a look, and keycard doors including a medical conference room (large safe) and an outpatient room. One enemy worth noting on this side is a crocodile guarding a large safe in the "re-link implementation surgery" room — not a difficult fight, but worth being ready for. Falling into the water near the zip line that connects this corner is not survivable through revive, so treat it as a hazard rather than a shortcut.

The dog tag extract sits right at the top of the tower, available on both Normal and Hard difficulty but only after 10 minutes into the match, with just one player slot. Submit two enemy dog tags (never your own) to start a 10-second countdown and extract with your bag intact — a strong option if you're the last one standing on your squad or running solo. You can bring dog tags you've already collected, or simply arrive late, loot dog tags off players other teams already killed, and use those instead. Leaving the extraction zone and returning resets the 10-second countdown rather than cancelling the extract outright, so you can duck out for one more piece of loot and come back. This same top area has flamethrower enemies and another crocodile worth clearing first.
How this guide was fact-checked
This guide is sourced from a Brakkesh extraction and tower guide (28:13, published 2026-05-01) recorded on a private lobby on the pre-launch test server, ahead of Hard mode's global release — the creator states this explicitly, and flags that some Hard-mode specifics (like an extra "sand safe box" spotted during recording) may differ once the mode reaches the live version. One transcription quirk worth flagging: the video's auto-generated captions consistently mis-hear the map's name, rendering "Brakkesh" as "Breachers" or "break cash" throughout — this guide uses "Brakkesh" throughout in line with this catalogue's naming, since that mishearing is a captioning artifact rather than a naming dispute. Every extract timer, lever location and room description here comes directly from the creator's own hands-on tour of the map rather than from a third-party wiki, and the Notes on this catalogue's own content plan confirm Brakkesh's layout has not been reworked since this video was recorded, so the room-by-room detail should still hold through Season 10: Meltdown.
A short beginner-friendly strategy summary if you take one thing from this guide: know which building holds which lever before you commit to a push, since Brakkesh punishes wasted time far more than it punishes a wrong gunfight. Among all the tips in this guide, the single most practical one is to always carry the New Tower of Babel power supply access card if you can afford it — skipping every countdown at every gate turns a slow, contested approach into a fast, quiet one.
What this guide doesn't answer
This guide doesn't cover the neural uplink puzzle that unlocks the southwest corner's combination-locked room in step-by-step detail — the source video explicitly defers that to the creator's separate "all secrets" video, and this guide follows that same split rather than guessing at the puzzle's mechanics secondhand. It also doesn't confirm which loot spawns (like the "sand safe box" noted during the Hard-mode test-server recording) survived into the mode's actual global launch, since the source itself flags that as untested outside the private lobby. Finally, it doesn't rank Brakkesh's loot value against the game's other Operations maps — this is a route and extraction guide first, not a loot-tier comparison.
Read next
Delta Force Cracked Map Guide: Movement Routes, Climbs and Positioning (Warfare)
A movement-tech focused walkthrough of Cracked's rooftop dash chains, AC-unit and pole climbs, balcony bounces and the Graveyard callout, plus point-holding basics like tank and sniper awareness.
Delta Force Space City 2.0 Map Guide: Water Routes, Docks, Hudson Boss and Loot Changes (Season 8)
Season 8's Space City 2.0 rework covers every swimmable water route, the new docks area, the Hudson boss encounter, the reworked central-building interior, CEO office keycard spots and the buoyancy flood mechanic — plus what didn't change.
Delta Force AZ3 Nuclear Power Plant Map Guide: Radiation, Extracts & Keycards
A launch-day breakdown of Delta Force's AZ3 Nuclear Power Plant map: radiation tiers and decontamination, the west/east/core layout, spawn-based extracts, all 7 keycards plus the AZ3 pass key system, and the H1000 boss.
Delta Force Zero Dam 3.0 Map Guide: All Loot Locations (Season 9 Rework)
Every confirmed loot spawn in the new Zero Dam 3.0 water zone added in Delta Force's Season 9 rework, plus the new bird-alert mechanic and route order from Paid Extract.