
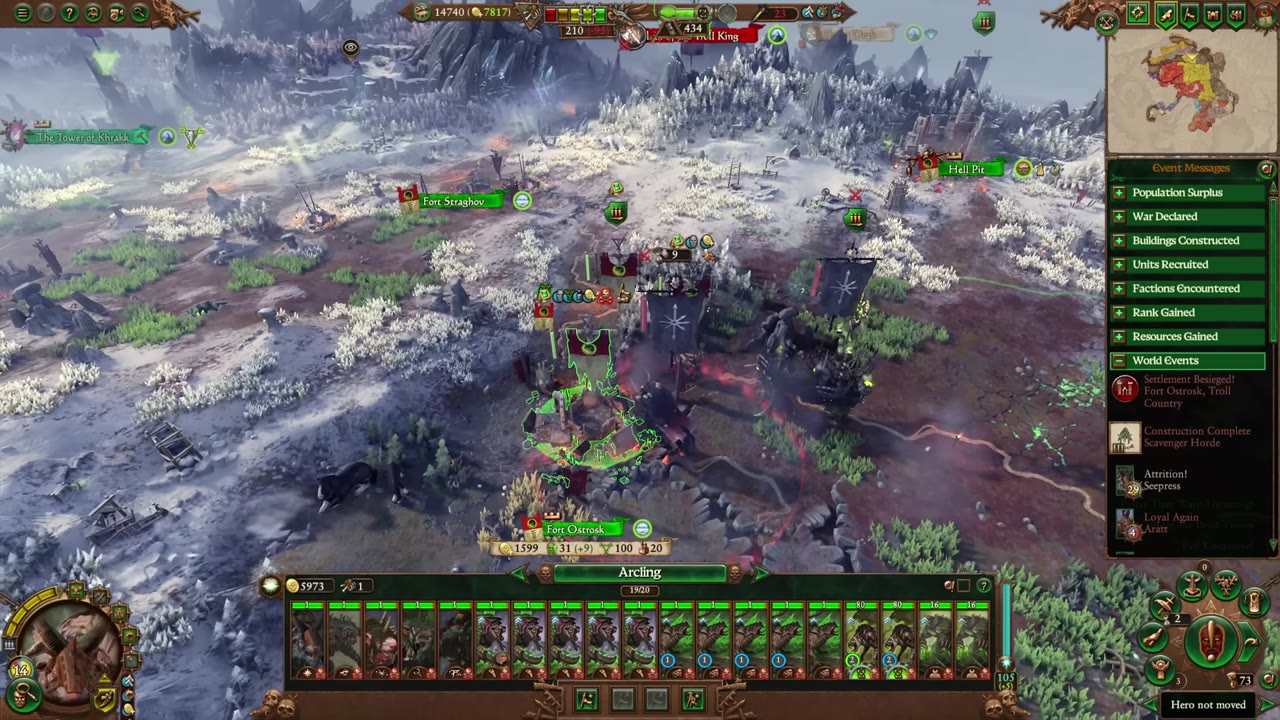
Skaven armies win by rigging battles before they even start. Instead of relying on strong units or careful tactics, you can use campaign positioning, ambush mechanics, and terrain to weaken the enemy. This guide shows how to trap powerful foes, break up stacks, and claim victory with minimal losses by making the situation unwinnable for them before combat.
Quick answer
| What | Answer |
|---|---|
| Core rule | Win strategically, not tactically |
| Besieging ambush defense | +100% |
| Archeon ambush defense chance | 75% base against the first army |
| Battle difficulty | Maximum difficulty |
| Battle outcome | 0 casualties |
Set up the campaign so the battle is already uneven
Before you engage, take time to arrange your armies in a way that divides the enemy and makes the fight easier. Skaven power comes from forcing opponents into bad situations. Here are the key steps to set up your campaign for an unfair advantage:
- Place your army to ambush the weakest enemy group, so stronger stacks can't reinforce in time. 1:01
- Force March armies are more vulnerable—they can't retreat and are weak in auto-resolve 1:30.
- Attack those that can't move or reinforce—they can be eliminated without heavy losses 1:59.
- It's safer to deal with several small fights than one large stack 3:53.
- Garrison units may be added to your side if ambush mechanics trigger, tipping odds 6:18.


Use ambush chance to trap the main army
Understanding ambush mechanics is essential for Skaven. Settlement besiegers receive a hidden +100% ambush defense bonus, making them very hard to ambush. For example, Archaon's base ambush defense is 75%, and the besieging modifier raises this to nearly impossible to ambush without unique traits or higher bonuses 4:23.
To land a guaranteed ambush against a besieger, you would need 200% ambush success chance—something outside the normal Skaven toolkit unless using special units or lords like Snitch. In most cases, your ambush chance tops out at 100%, so you'll rarely land a true ambush against a settlement besieger—but you can still manipulate the situation.
The type of tile your army stands on can change ambush odds by as much as 10–15%. Choosing the right tile is critical. Even if the enemy is just outside reinforcement range, ambushing can extend the reinforcement zone, pulling extra armies in or adding garrison units 5:49.
Ambushing also lowers the enemy's auto-resolve strength and can alter which forces join the battle. This is particularly valuable when splitting large enemy stacks into individual fights, as armies that seemed out of range may now participate—but with weakened morale and less coordination.


Delay reinforcements with terrain and hiding
Making the enemy commit to a fight before your full force is visible gives you a major edge. You can buy time and manipulate the flow with terrain and hiding. Here's how:
- Use forests or tall terrain to keep your units concealed, minimizing early detection 7:15.
- Flyers can spot hidden units from above, so position carefully or use a hill's reverse slope 7:44.
- Reinforcements typically take around 2 minutes to arrive and reveal themselves 8:11.
- Keeping reinforcements out of sight prevents the enemy from seeing your true strength until it's too late 8:40.
- If the enemy perceives the fight as unwinnable, they may choose to withdraw instead of standing their ground 9:10.

Let the enemy exhaust itself before committing
The true Skaven victory is making the enemy defeat itself. When pushed into an ambush where the odds are bad, AI armies may begin to retreat or withdraw from the battlefield—the result is often a wipe, especially if they are on Force March and unable to escape 9:38.
If enemy forces leave the field while on Force March, they're destroyed just as if they’d fought and lost; this is a core element of campaign control for Skaven. Army losses can trigger while units are in retreat, further converting weak withdrawals into full routs and maximizing payouts.
Often, it's better to wait and let the enemy try to fix their mistake instead of revealing reinforcements too early. If the enemy doesn’t have a good answer, they'll defeat themselves by poor movement or panic, granting you victory with minimal effort.


Take the post-battle rewards that matter
Victory in a strategic Skaven battle leaves you with a choice of rewards. Here’s how to decide:
| Reward type | Effect | When to take it |
|---|---|---|
| Money | Campaign funds; does not heal units | Take when replenishment is negligible or weakest units took casualties |
| Replenishment | Restores small % of lost units | Only worthwhile if valuable units were wounded (often weak when fighting trash units) |
| Captives | Sell for food or gold; scales with enemy army size | Useful when enemy fielded many troops, even if few were actually killed |
| Experience | Added per unit slain | Barely gained if enemy retreated or wiped without a real fight |
Most of the time, money is safest—especially if replenishment won't help key units, or experience gain is trivial because few enemies were actually killed. Trash units can absorb losses; your best troops stay untouched.

Also worth knowing
- The entire fight can end with almost no casualties. A 13-minute run resulted in only 13 casualties and no full engagement—the enemy collapsed through retreat, not combat.
- Ambush withdrawal behavior was hotfixed soon after release. The AI's tendency to escape ambushes and get wiped (even when they had a chance to win) was patched, so this exploit is less reliable in the latest version.
- Force March plus retreat causes a wipe. If the ambushed army retreats while on Force March, it will be destroyed regardless of losses.
- Besieging armies’ +100% ambush defense is often missed. Many players overlook this hidden modifier; always check the ambush defense stat before risking an ambush against a siege.
- Enemy behavior changed between Warhammer II and III. In Warhammer II, enemies endured ambushes longer, whereas Warhammer III AI often retreats early if odds are poor.
Frequently asked
How do Skaven win battles without fighting head-on?
Skaven can win by making the enemy take a bad engagement, then using ambushes, reinforcements, and terrain to delay or split them up. The key is to improve the situation before the fight starts so the enemy is already losing when combat begins. If the enemy retreats or wastes time, the army can collapse without a fair fight.
Why does ambushing a besieging army matter so much?
A besieging army gets a strong ambush defense bonus, so ambushing it is harder than normal. Even so, an ambush can reduce the enemy’s ability to coordinate, cut down their auto-resolve value, and change which nearby forces can join the battle. That makes it much easier to isolate the main army.
What happens when reinforcements are hidden before the battle?
Hidden reinforcements buy time by delaying when the enemy notices the full force. If they stay out of sight, the enemy may retreat or run until army losses trigger instead of standing and fighting. That is especially strong when the first visible force is weaker than the enemy expects.
Does this approach still work if the enemy has good odds?
It works best when the enemy thinks the fight is unfavorable or uncertain. If the battle looks clearly bad for them, they may withdraw off the field instead of committing. That behavior can turn a dangerous engagement into a wipe without a full melee.
Read next
Total War: Warhammer 3 High Elves Guide: Patronage, Influence and the Intrigue Game
This plan covers the shared High Elf mechanics in Immortal Empires and how each legendary lord changes the campaign plan. It is for players who want to choose a lord, understand the faction systems, and know what to prioritize early.
Total War: Warhammer 3 Lizardmen Guide: Geomantic Web, Rites and Blessed Spawnings
A practical early-to-late campaign plan for Kroq-Gar and the Last Defenders, focused on surviving the opening wars, building efficient armies, and scaling into a Stegadon-heavy late game. It is for players who want a clear path through the faction’s early economy, unit choices, heroes, and research priorities.
Total War: Warhammer 3 Greenskins Guide: Waaagh!, Scrap Upgrades and Da Best Start
This guide covers the core Greenskin campaign mechanics and how they shape expansion, army building, and faction choice. It is for players who want a practical overview of the major lord starts and what each one is best at.
Total War: Warhammer 3 Dark Elves Guide: Black Arks, Slaves and No Global Recruitment
This guide covers the early campaign, core army choices, hero roles, Malekith’s skill path, Black Arks, technology, and the slave economy for Dark Elf play in Immortal Empires. It is aimed at players who want a practical opening plan and the main systems that make Dark Elf campaigns work.