
🎯 The core idea
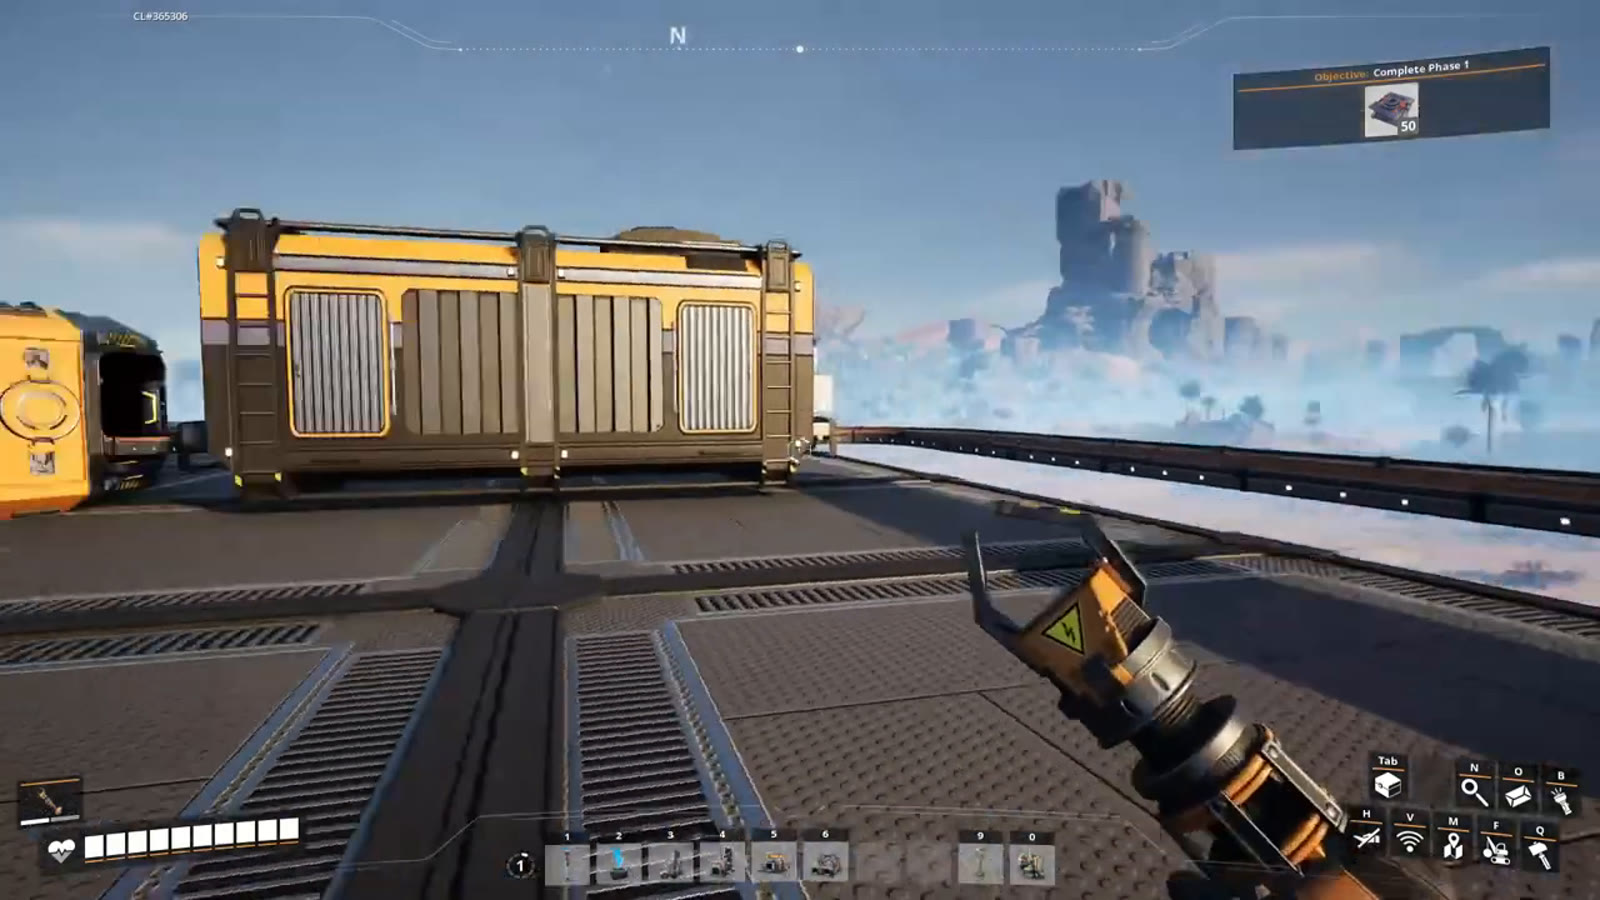
Phase 1 of the Space Elevator needs exactly 50 Smart Plating, and Smart Plating needs one Reinforced Iron Plate plus one Rotor each — so the entire phase comes down to building one clean iron megafactory that feeds two assemblers, and everything else in this guide exists to support that supply chain.
- free costs nothing
- cheap small cost
- setup needs preparation
- grind pays off slowly
- skip the thing to stop doing
Prep work: obstacle clearing and automated biomass power

Before the iron megafactory, unlock Obstacle Clearing first rather than working straight through the tech tree — it gives you the chainsaw (for clearing trees blocking your factory) and access to Solid Biofuel, the most power-efficient biofuel available at this stage. The chainsaw defaults to area mode (clears everything in range at once), but switching to single mode lets you drop just one tree or leaf cluster without touching its surroundings.

Automate biomass power before scaling up anything else, or you'll spend the whole build manually refeeding burners. Twelve biomass burners split into two rows of six, each fed by its own belt, gives roughly 360 MW of capacity while a full set only burns about 120 MW at 4 fuel/min — enough headroom to roughly triple your base's size before you need to think about power again.

Leaves and wood need separate Constructors — despite both being biomass sources, there is no single recipe that accepts either interchangeably, so route them to two different storage units and two different Constructors before merging into Solid Biofuel production.
The iron megafactory: the actual Phase 1 build

Unlock Part Assembly next, then commit to one large, deliberately laid-out iron factory rather than scattered small setups — everything in Phase 1 traces back to iron. You'll need access to roughly six normal Iron nodes (or the equivalent) to fully supply it. The full build:
| Building | Count | Product |
|---|---|---|
| Smelter | 12 | Iron Ingots |
| Constructor | 11 | Iron Rods |
| Constructor | 7 | Iron Plates |
| Constructor | 10 | Screws |
| Assembler | 2 | Rotors |
| Assembler | 3 | Reinforced Iron Plates |
| Assembler | 2 | Smart Plating |

Group smelters in rows of four on shared belts, and lay out the iron rod and iron plate Constructors symmetrically around them — the exact geometry doesn't matter, but keeping related machines physically close together makes the belt routing dramatically easier to follow later. Along the way, split off roughly 40 Iron Plates/min and 30 Iron Rods/min into separate storage for general building materials (belts, foundations, and so on) — this factory needs to supply itself as well as the space elevator.

Screws are high-volume enough to fill a belt fast, so the 10 screw Constructors are grouped in threes rather than run on one long line. Build with Mk.1 belts throughout initially — the factory won't run at full efficiency until you upgrade key input lines to Mk.2 once Reinforced Iron Plate production is live, but starting on Mk.1 keeps the initial build achievable without waiting on unlocks.
Finishing the chain: Rotors, Reinforced Iron Plates, and Smart Plating

The last stage needs 2 assemblers making Rotors and 3 assemblers making Reinforced Iron Plates, both fed from the screw lines above — expect to lean on splitters and mergers fairly heavily to route screws cleanly into both. Put a storage unit between Reinforced Iron Plate production and Smart Plating deliberately: you'll be producing more Reinforced Iron Plates than Smart Plating alone needs, because Mk.2 belts and other Constructors also consume them.
Smart Plating itself needs 1 Reinforced Iron Plate + 1 Rotor per unit, taking 30 seconds per Assembler — so each Assembler makes 2 Smart Plating/min, and two Assemblers together make 4/min. Both figures are confirmed on the current Satisfactory Wiki.
Finally, put a storage unit behind Smart Plating production too, since you'll produce more than the Space Elevator can absorb at once — feeding it from storage via belt uploads automatically over time.
Building the Space Elevator and delivering Phase 1


Build the Space Elevator itself once your production line is running — it's a large, expensive structure, but only needs to be built once. It's also the delivery point for every Project Assembly part in your phase progression order, not just Smart Plating, so this is the last time you'll need to construct one. Feed it directly from a belt out of your Smart Plating storage unit, and deliveries upload automatically, the same way Milestones work at the HUB. Completing Phase 1 (50 Smart Plating) unlocks Tiers 3 and 4 at the HUB, opening up substantially more of the tech tree.
Phase 2 needs considerably more — 1000 Smart Plating, per the current Satisfactory Wiki — so treat this Phase 1 factory as a foundation you'll keep running and expanding, not a one-off build to tear down afterward.
How this guide was fact-checked
The 50 Smart Plating requirement for Phase 1 and the Smart Plating recipe (1 Reinforced Iron Plate + 1 Rotor, 30 seconds, 2/min per Assembler) were both confirmed on the current Satisfactory Wiki's Smart Plating page, which also confirms Phase 2's 1000 Smart Plating requirement — both matching the source video exactly. Every building count and layout figure (12 smelters, 11/7 rod/plate Constructors, 10 screw Constructors, 2/3/2 assemblers, the 40/30 per-minute material split-offs) comes directly from the video's own on-screen build, part of a dedicated Satisfactory 1.0 build-along series rather than a rough recollection.
What this guide doesn't answer
This guide covers Phase 1 only, matching its source video — Phases 2 through 5 each have significantly different requirements and are better covered by their own dedicated guides (the same creator has sibling episodes per phase, and this site has a separate Phase 5 & Endgame guide). Later phases in the space elevator's Project Assembly progression order introduce entirely different Project Parts this guide doesn't touch — Versatile Framework, Automated Wiring, Modular Engine, and Adaptive Control Unit among them — since Phase 1 only ever asks for Smart Plating. It also doesn't cover Mk.2 belt upgrade timing in detail beyond "upgrade main input lines first, back to front" — the video treats the exact order as flexible based on what materials you have on hand, not a fixed checklist.
Frequently asked
How much Smart Plating do I need for Space Elevator Phase 1?
Exactly 50 Smart Plating, confirmed on the current Satisfactory Wiki. Phase 2 then jumps to 1000 Smart Plating, so the Phase 1 production line is worth keeping and expanding rather than tearing down afterward.
What is the Smart Plating recipe in Satisfactory?
1 Reinforced Iron Plate plus 1 Rotor per Smart Plating, taking 30 seconds in an Assembler — 2 Smart Plating per minute per Assembler. Two Assemblers running together produce 4 per minute.
How many smelters and Constructors do I need for Space Elevator Phase 1?
12 Smelters, 11 Constructors making Iron Rods, 7 Constructors making Iron Plates, 10 Constructors making Screws, 2 Assemblers making Rotors, 3 Assemblers making Reinforced Iron Plates, and 2 Assemblers making Smart Plating.
What should I unlock before starting Space Elevator Phase 1?
Unlock Obstacle Clearing first for the chainsaw and Solid Biofuel, automate biomass power (12 burners across two belts), then unlock Part Assembly before committing to the iron megafactory that actually produces Smart Plating.
What does completing Space Elevator Phase 1 unlock?
Completing Phase 1 unlocks Tiers 3 and 4 at the HUB, opening up a substantial portion of the tech tree, including automated Coal Power in the next stage of progression.
Read next
Satisfactory Overclocking & Power Shards Guide
Satisfactory Phase 5 & Endgame Guide: Compact Blueprints for Project Assembly
Satisfactory Somersloop Guide: Power Augmenter & Production Amplification
All 106 Somersloops in Satisfactory explained: exact Alien Power Augmenter math, Production Amplifier slot counts by building, and which recipes actually deserve a Somersloop.
Satisfactory MAM & Hard Drive Guide: Research Tree and Crash Sites
How the MAM's research tree works, which items unlock each category, why the Alien Technology branch matters most, and how to find, scan and reroll Hard Drives from Crash Sites.