
🎯 The core idea
Overclocking carries a non-linear power penalty that most players never learn until they've already committed a stack of Power Shards to a factory -- and that hidden cost is exactly why "is overclocking worth it" stays a live question at every skill level. This guide follows one player's genuine before-and-after discovery of what Power Shards do to a stalled production line, cross-checked against the official Satisfactory Wiki's precise power-cost numbers and current Power Slug crafting ratios, since several figures repeated in the source video turn out to be outdated or simply misremembered.
- free costs nothing
- cheap small cost
- setup needs preparation
- grind pays off slowly
- skip the thing to stop doing
What overclocking actually does

Clock speed can be set anywhere from 1% to 250% on any production building, resource extractor or power generator, with up to four decimal places of precision -- confirmed on the current Satisfactory Wiki. Going above 100% is overclocking; below 100% is underclocking, and only overclocking needs Power Shards. This guide's source video demonstrates the effect directly on an Assembler: three Power Shards push it to 250% clock speed, taking a roughly 4-per-minute output up to 10 per minute -- and 4 times 2.5 (the multiplier at 250% clock) works out to exactly 10, so that on-screen result checks out cleanly against the game's own math.
The power cost isn't linear -- and that's the part people miss
Production buildings scale output linearly with clock speed (200% clock speed means exactly double the output and double the inputs), but power consumption follows a steeper curve: power scales by clock speed raised to the exponent 1.321928, a figure confirmed directly in the official Satisfactory Wiki's own patch history. In practical terms, a machine at 50% clock speed draws only 40% of its base power (not the 50% you'd expect), while a machine pushed to 250% draws 335.77% of its base power -- roughly 1.34 times more power than the 250% output would suggest at a glance. Overclocking trades power efficiency for footprint: fewer machines doing the same job, at a real power cost that grows faster than the output does.
Power Shards: what the source video gets wrong

This guide's source video states blue, yellow and purple Power Slugs are worth 7.5, 10 and 12.5 respectively -- but the current Satisfactory Wiki lists a completely different mechanic: each slug converts into a fixed number of Power Shards when crafted in a Constructor, not a percentage or rate. A Blue Power Slug crafts into 1 Power Shard (8 seconds), a Yellow Power Slug into 2 Power Shards (12 seconds), and a Purple Power Slug into 5 Power Shards (24 seconds). Since the source video's numbers don't match any documented version of this mechanic, this guide follows the wiki's figures rather than repeating an unverifiable claim.
Power Shards are a finite resource
Power Slugs are scattered across the map in fixed locations and do not respawn, with the sole exception of a small renewable supply obtainable with the help of a tamed Lizard Doggo -- confirmed on the current Satisfactory Wiki. The world total is 596 Blue, 389 Yellow and 257 Purple Power Slugs, which caps non-renewable Power Shard production at 2,650 -- or 5,301 if every conversion runs through a Somersloop-boosted Constructor, which doubles the shard yield per slug once Production Amplifier is unlocked in the MAM. That ceiling is worth knowing before spending Power Shards freely: unlike raw ore, there's a real limit to how many you'll ever have without reaching Tier 9.
Every machine caps out at three shards

Each Power Shard slotted into a building raises its maximum allowed clock speed by 50%, up to three shards for a hard cap of 250% -- confirmed on the current Satisfactory Wiki. There's no benefit to trying to slot a fourth shard, and recipe and clock speed settings (including whichever shards are needed) can be copied between buildings of the same type with Ctrl+C / Ctrl+V, which is the fastest way to apply the same overclock across a whole row of identical machines rather than configuring each one by hand. Resource extractors work the same way as production buildings here -- overclocking Miners on a rich node is one of the most common uses of a Power Shard, since it pulls more ore out of a single node instead of placing and belting a second miner elsewhere.
Underclocking costs nothing
Underclocking a machine below 100% doesn't require any Power Shards at all -- it's the free half of the same mechanic, useful for matching a machine's output to exactly what a downstream process needs rather than running it at full rate and wasting the surplus. Since underclocking follows the same non-linear power curve in reverse, a machine at 50% clock speed genuinely only draws 40% of its normal power, which makes it a legitimate power-saving tool on top of being a ratio-matching one.
When belts become the real bottleneck

This guide's source video runs into a common downstream effect of overclocking: once a machine's output jumps from 4 to 10 per minute, the belt carrying that output can become the new limiting factor if it wasn't upgraded to match. Mark 1 belts cap at 60 items per minute, so this is rarely an issue on a single machine -- but stacking overclocked outputs from several machines onto one shared belt is exactly the kind of situation where a belt tier upgrade (as the source video does, moving from Mark 1 to Mark 3) becomes necessary alongside the Power Shards themselves.
Why the demand shows up in the first place

Overclocking rarely gets tried until a specific bottleneck forces the issue, and this guide's source video's trigger is a common one: reaching the point in progression where nearly every later-tier item requires a Motor, which itself needs both a Rotor and a Stator produced in parallel and combined. When two separate production chains both have to keep pace to feed a single downstream machine, a shortfall in either one stalls the whole line -- which is exactly the kind of situation where overclocking a specific bottlenecked machine, rather than the whole factory, gets the most value out of a limited stack of Power Shards.
Researching Power Slugs before you can craft shards

Clock speed adjustment itself has to be unlocked first, through the Power Slugs research chain in the MAM -- confirmed on the current Satisfactory Wiki, and the research is specifically named "Overclock Production" despite also unlocking underclocking. Until that's researched, collected Power Slugs just sit in inventory doing nothing, which is why it's worth prioritizing this research the first time a slug turns up rather than stockpiling them unresearched for later.
A milestone that doubles as a natural checkpoint

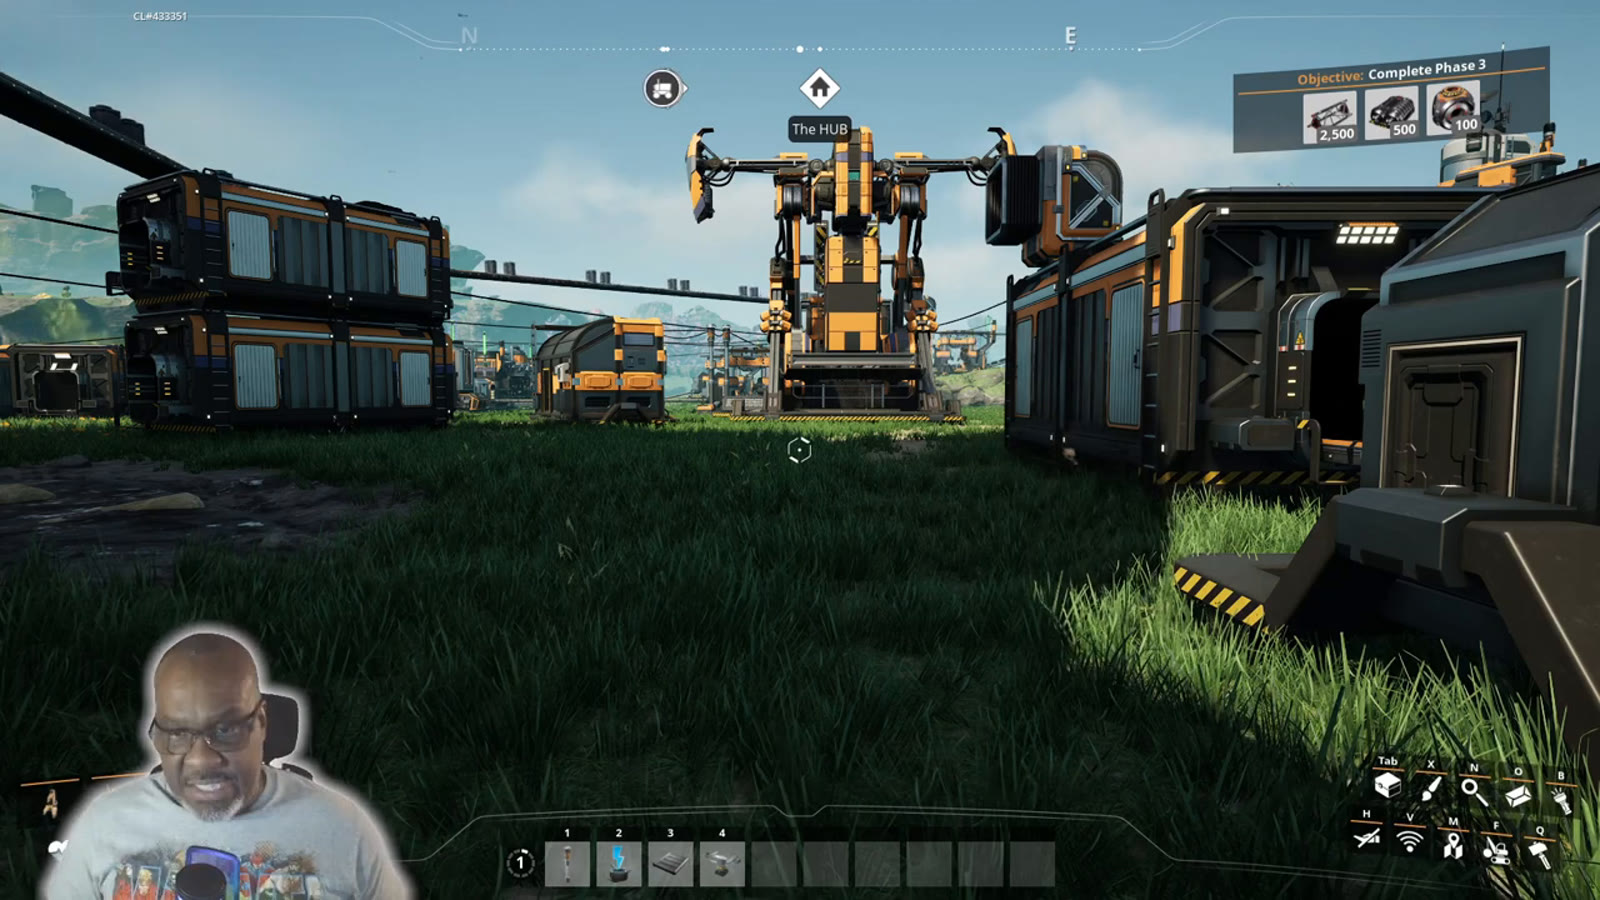
Space Elevator phase completions are a natural point to pause and reassess a factory rather than an arbitrary stopping place: this guide's source video reaches Phase 2 running entirely on coal power, which is a reasonable moment to ask whether the next tier's more complex items -- Motors among them -- justify overclocking a few key machines rather than scaling up with more of them. There's no single right answer here; it depends on how much spare power capacity and how many Power Shards are actually on hand at that point in a given save.
How this guide was fact-checked
The power-consumption exponent of 1.321928, the exact power-cost table (50% clock speed costs 40% power, 250% clock speed costs 335.77% power), the fixed Blue/Yellow/Purple Power Slug-to-Power Shard crafting ratios (1/2/5 shards respectively), the finite world total of Power Slugs (596/389/257), the Somersloop-doubling tip, the three-shard/250% cap, and the fact that underclocking requires no shards are all confirmed on the current Satisfactory Wiki -- most of these directly contradict or go well beyond what this guide's source video states, which is why the wiki's numbers are used throughout rather than the video's. The demonstrated production jump (roughly 4 to 10 per minute on three shards) and the belt-bottleneck experience come directly from the source video's own on-screen factory.
What this guide doesn't answer
This guide doesn't cover the Tier 9 Synthetic Power Shard recipe in build detail, since it requires the Quantum Encoder and several late-game materials (Time Crystal, Dark Matter Crystal, Excited Photonic Matter) that are well beyond where this guide's source video's factory currently sits -- that's a genuinely different, endgame-only path to Power Shards worth its own dedicated coverage. It also doesn't rank specific buildings by "best use of a Power Shard," since the wiki itself offers only general tradeoff advice rather than a fixed priority list, and the right answer depends entirely on which part of an individual factory is actually the bottleneck. Finally, it doesn't cover the "45-81 rule" for avoiding repeating-decimal clock speeds when targeting a precise output rate -- a genuinely useful precision tip for advanced players, but a level of detail this guide's beginner-facing source material never touches.
Read next
Satisfactory Phase 5 & Endgame Guide: Compact Blueprints for Project Assembly
Satisfactory Space Elevator Phase 1 Guide: The Full Iron Build
A full building-by-building walkthrough of the iron megafactory needed for Space Elevator Phase 1 in Satisfactory: smelters, screws, rotors, reinforced iron plates and the exact Smart Plating recipe.
Satisfactory Somersloop Guide: Power Augmenter & Production Amplification
All 106 Somersloops in Satisfactory explained: exact Alien Power Augmenter math, Production Amplifier slot counts by building, and which recipes actually deserve a Somersloop.
Satisfactory MAM & Hard Drive Guide: Research Tree and Crash Sites
How the MAM's research tree works, which items unlock each category, why the Alien Technology branch matters most, and how to find, scan and reroll Hard Drives from Crash Sites.