
🎯 The core idea
Phase 5 is Satisfactory's final Project Assembly milestone, and its part costs look enormous on paper — but at default cost scale, the actual numbers are far more manageable than a full endgame megafactory: five compact "box crafting" blueprints, each sized to finish its part in about 100 minutes, clear the whole milestone. The core lesson from this guide's source video, learned the hard way after a 12-hour factory finished the job in one hour of runtime: build for the milestone's actual throughput, not for a base you'll keep forever.
- free costs nothing
- cheap small cost
- setup needs preparation
- grind pays off slowly
- skip the thing to stop doing
What Phase 5 actually requires

At the game's default cost scale — what most players are running unless they changed it at world creation — Phase 5 needs five Project Parts delivered: 1,000 Biochemical Sculptor, 200 Ballistic Warp Drive, 256 AI Expansion Server, plus Nuclear Pasta and Thermal Propulsion Rocket carried over as inputs to those higher-tier parts. These figures are confirmed on the current Satisfactory Wiki's default (1x) cost-scale table and match this guide's source video exactly, so despite building tools and other systems changing across Satisfactory updates, this specific milestone's part costs have held steady.
Cost scale is a world-creation setting that can multiply every Project Assembly requirement up to 100x for a harder save. Everything in this guide assumes the default scale — check your own save's setting before treating these numbers as gospel for your game.
Build small, not permanent
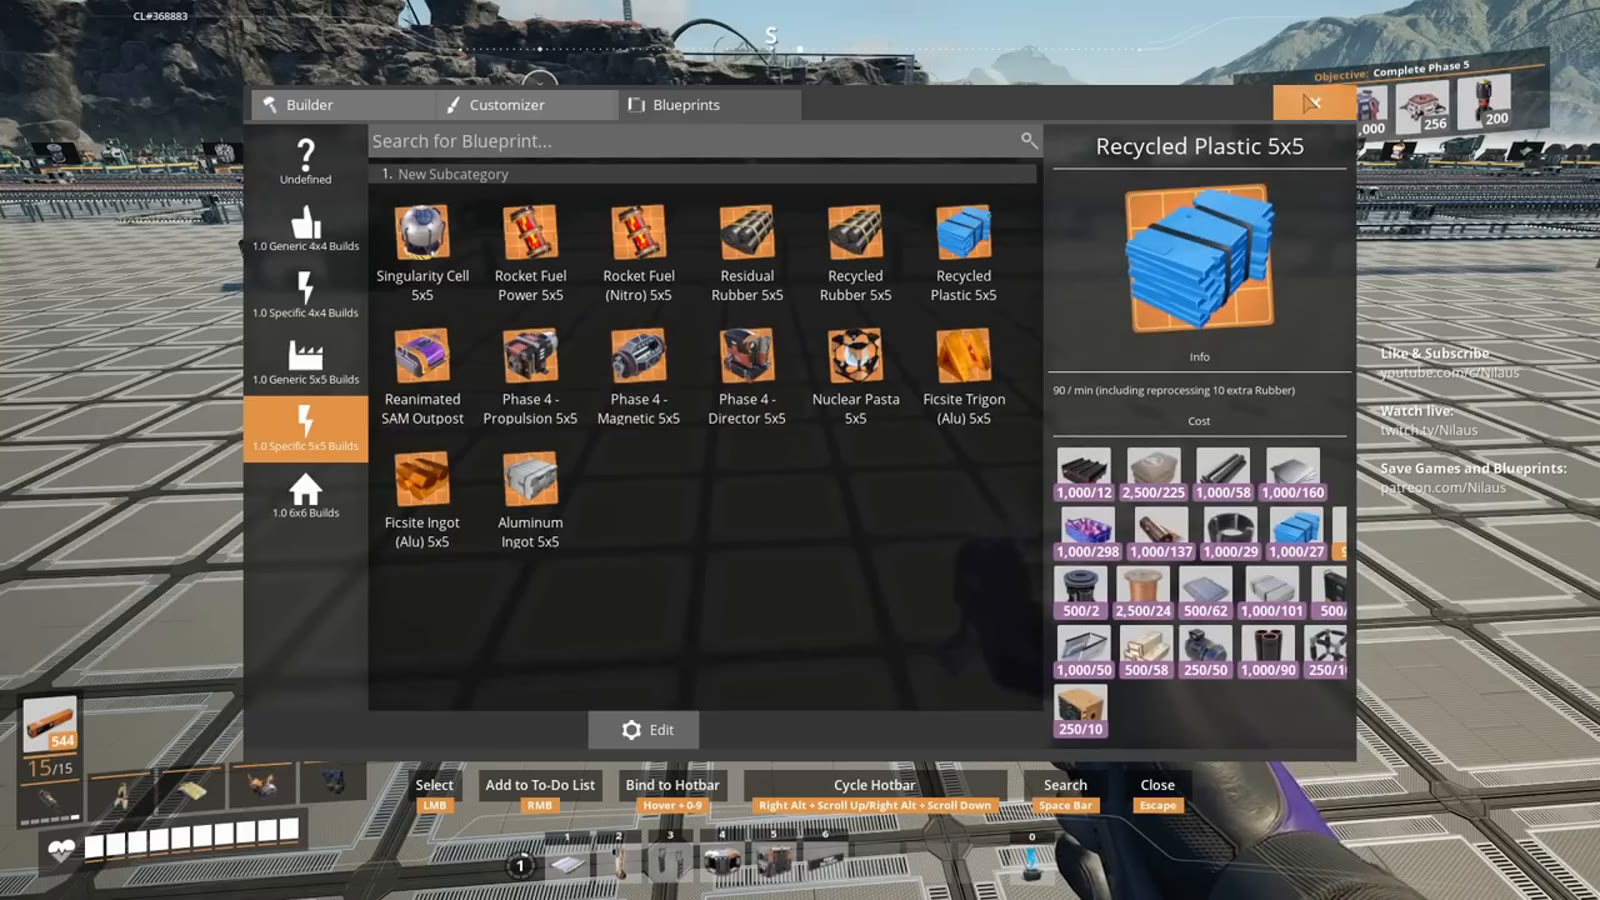
The single biggest mindset shift for Phase 5 is that these parts are typically a one-time cost, not an ongoing production target — once delivered, most saves don't need more. That makes an oversized permanent megafactory the wrong tool: a compact, deliberately scaled-down "box crafting" blueprint that only needs to sustain its target output for about 100 minutes clears the milestone with far less build time than a base meant to run forever. This guide's source video frames this explicitly as a lesson learned from viewer feedback about a 12-hour factory build that only needed to run for one hour.
Biochemical Sculptor: the straightforward one

Biochemical Sculptor's chain is comparatively simple: Copper Wire into Cable into Automated Wiring into Adaptive Control Unit into the Assembly Director System, finally blended into Biochemical Sculptor itself. To hit 1,000 units inside a 100-minute window at 10/min fully maxed, the build uses 12 Somersloops across its intermediate steps — a heavy investment, but one the video's creator judges worth it given this is a one-time endgame push rather than a permanent production line. One quirk worth planning around: a Somersloop-boosted machine's first production cycle only yields half its projected output, since the amplification effect doesn't apply until the second cycle onward.
Ballistic Warp Drive: expensive but low-volume

Ballistic Warp Drive is the single most valuable item in the game by AWESOME Sink points — 2.8 million points each — but Phase 5 only needs 200 of them, so producing just 2 per minute clears the requirement inside the same 100-minute window. It's built from Singularity Cells, Superposition Oscillators and Dark Matter Crystals, and consumes only 40 Dark Matter Crystals per minute at that rate — modest next to the numbers elsewhere in this milestone.
AI Expansion Server: the hardest one to lay out

AI Expansion Server is explicitly saved for last in the source video because it's the worst part to design around: it's made in a Quantum Encoder, an oddly-shaped building that doesn't fit neatly into standard blueprint grids, and the chain also produces Dark Matter Residue as an unwanted byproduct that has to be converted back into Dark Matter Crystals or deliberately trashed rather than left to back up the line. Only 256 units are needed — roughly 2.56 per minute across the 100-minute window — so the quantity itself is modest even though the layout is the most fiddly part of the whole milestone.
The diagonal blueprint trick

Space gets tight when squeezing an oddly-shaped building like the Quantum Encoder into a compact footprint, and one specific technique solves it: blueprints can be placed diagonally, using a free-form beam as an alignment anchor to snap the blueprint flush against an edge at an angle rather than only on the standard grid. The video's creator credits this to a suggestion left in the YouTube comments on an earlier video, and demonstrates it live specifically to fit the AI Expansion Server build into the available space.
Cleaning up Magnetic Field Generator's byproduct

Magnetic Field Generator production for the AI Expansion Server chain produces Dark Matter Residue as an unavoidable byproduct — in this build, roughly 64 units per minute. Rather than letting it accumulate, the video routes it through a converter back into Dark Matter Crystals and then into the AWESOME Sink, which at this build's throughput processes around 15 million points per minute once fully running. This keeps the byproduct from ever needing manual management once the blueprint is placed and connected.
Putting it together: bus branches over one giant build

Rather than building one sprawling factory, the finished setup branches each of the five part blueprints directly off an existing resource bus — the video's creator specifically chooses this over new dedicated production lines because Phase 5's demand on raw inputs like copper wire, aluminum and plastic turns out to be low enough that existing bus capacity easily covers it. If you just want to clear the milestone with minimum effort, the video notes that simply box-crafting every input (buying or trucking in premade parts rather than building live production for them) works just as well as connecting to a bus — the blueprint layouts shown are for players who want everything running and self-contained.

Nuclear Pasta needed almost no dedicated production in this playthrough — the video's creator already had roughly 2,000 stockpiled from earlier Phase 4 work, well past the 1,000 needed for Phase 5's own delivery plus the extra consumed producing Singularity Cells for the Ballistic Warp Drive chain.
What happens after delivery
Completing Phase 5 triggers the endgame sequence through the Space Elevator, which the source video deliberately doesn't show — it's explicit about avoiding any story spoilers and saves the actual launch sequence for a separate follow-up episode. This guide follows that same choice: it covers the build and delivery of every Phase 5 part, but not what the ending itself contains.
As for how long it takes to beat Satisfactory once you reach this point: that's really a question about your whole save, not just Phase 5, and depends heavily on playstyle. What this guide can say concretely is the final push's own runtime — every blueprint here is deliberately sized to finish its part in roughly 100 minutes once built and connected, which is the actual time-to-completion for this specific milestone in the source video, separate from however many hours went into reaching Tier 9 in the first place.
How this guide was fact-checked
Every Phase 5 part quantity in this guide — 1,000 Biochemical Sculptor, 200 Ballistic Warp Drive, 256 AI Expansion Server, and the Nuclear Pasta/Thermal Propulsion Rocket figures carried over from Phase 4 — is confirmed on the current Satisfactory Wiki's default (1x) cost-scale milestone table, and matches the source video's own on-screen numbers exactly. The Content Plan notes for this topic flagged that endgame part costs may have been tuned in later updates, but cross-checking against the current wiki found no discrepancy: this milestone's costs have remained stable since the video's Update 1.0-era upload. Every build layout detail (Somersloop counts, machine counts, the diagonal blueprint technique, and the AWESOME Sink throughput figure) comes directly from the video's own on-screen builds and its creator's narration.
What this guide doesn't answer
This guide is scoped to designing and running the production blueprints that deliver Phase 5's required parts — it does not cover the story content or ending sequence that follows delivery, matching the source video's own explicit choice to avoid spoilers and save that for a separate episode. It also doesn't cover Phase 5 at any cost scale other than the default (1x); if your save uses a higher cost-scale setting, every quantity in this guide should be scaled up according to the wiki's per-scale tables rather than taken at face value. Finally, it doesn't fully verify whether the exact Somersloop allocations shown are the objectively optimal choice — the video's own creator treats several of these as judgment calls made on the fly, not a solved optimization.
Read next
Satisfactory Overclocking & Power Shards Guide
Satisfactory Space Elevator Phase 1 Guide: The Full Iron Build
A full building-by-building walkthrough of the iron megafactory needed for Space Elevator Phase 1 in Satisfactory: smelters, screws, rotors, reinforced iron plates and the exact Smart Plating recipe.
Satisfactory Somersloop Guide: Power Augmenter & Production Amplification
All 106 Somersloops in Satisfactory explained: exact Alien Power Augmenter math, Production Amplifier slot counts by building, and which recipes actually deserve a Somersloop.
Satisfactory MAM & Hard Drive Guide: Research Tree and Crash Sites
How the MAM's research tree works, which items unlock each category, why the Alien Technology branch matters most, and how to find, scan and reroll Hard Drives from Crash Sites.