
With this guide, you’ll be able to set informed perk priorities for your Military Industrial Organizations in Hearts of Iron IV. Each section offers clear choices for various equipment types, so you can favor the best production, combat stats, and policies without memorizing every perk tree.
Quick answer
| What | Answer |
|---|---|
| First priority | production perks |
| Best production bonus | production efficiency cap |
| Dual MIO use | design MIO plus production MIO |
| Infantry stat priority | soft attack in single player |
| Tank stat priority | reliability for infantry tanks |
| Best navy MIO | raiding shipbuilders |
| Best plane stat | air attack for fighters |
| Best policy type | assembly line optimizers |
Choose production perks before combat perks
Start by selecting production-related perks for your Military Industrial Organizations before taking combat-related perks. This gives you bonuses for the entire run, not just after the war begins. Production bonuses apply as soon as factories start running, while combat perks gain value later once your army is in battle and equipment designs are locked in.
- Production perks give maximum value throughout the campaign 1:59
- Combat stats become important once wars begin and designs are used 2:36
- Exception: Take combat stat early if a specific equipment type needs it 2:55
Rank production buffs by value
Not all production bonuses are equal. Here’s how to rank them when picking perks:
| Bonus type | Value | Notes |
|---|---|---|
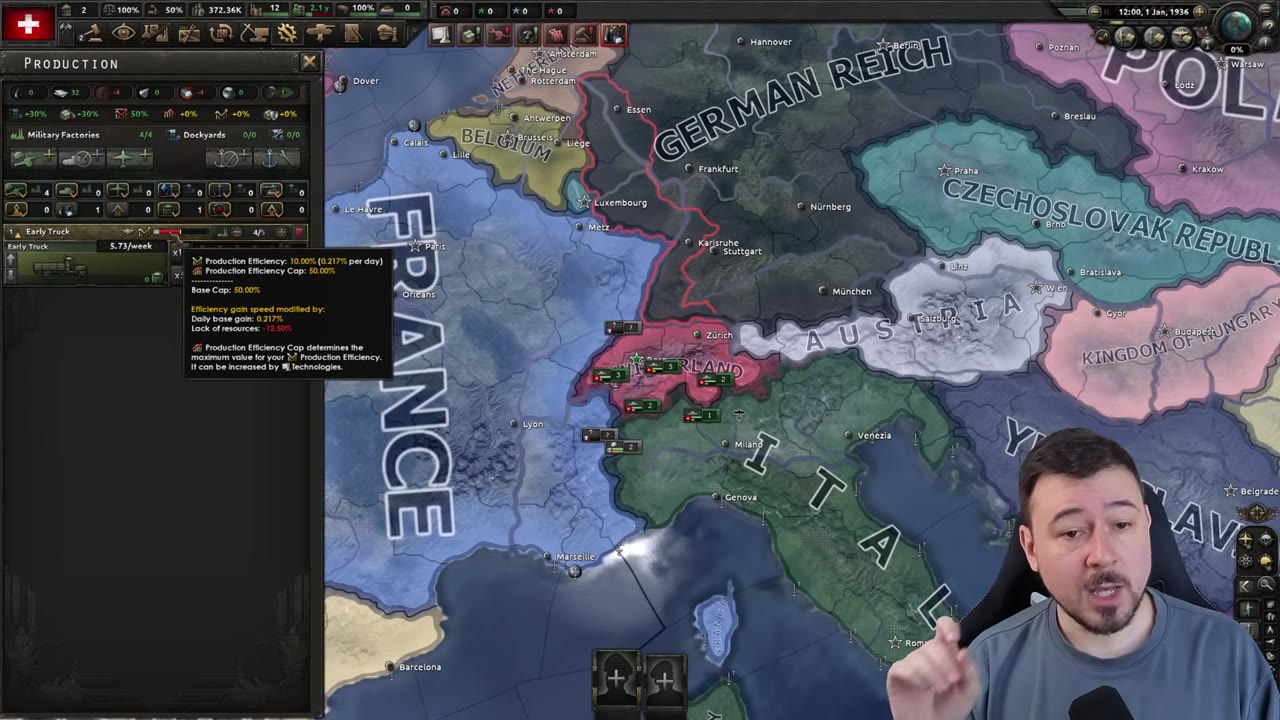
| Production efficiency cap | Highest | Raises the maximum output and makes all other efficiency bonuses more valuable 3:25 |
| Production efficiency output / output cost | High | Directly increases equipment produced (output) or reduces cost; applies to the specific production line 4:22 |
| Production efficiency gain | Low | Only valuable until the efficiency cap is reached; loses impact once factories are maxed 3:54 |
| Output bonuses | Contextual | Apply to the equipment produced by this MIO 4:22 |

Use two MIOs when design and production perks differ
Equipment lines can be assigned both a design MIO and a production MIO. This lets you use one organization for powerful production bonuses and another for stronger combat stats if their perk trees differ.
- Design slot perks boost breakthrough, defense, attack, etc. 5:40
- Production slot perks give cap, output, and cost bonuses 5:46
- Use dual MIO assignment for best bonuses 6:32
- Dual MIO use slows perk progression significantly 7:08

Pick infantry and support equipment perks by mode
For infantry equipment, your priorities change based on game mode:
- In single player, soft attack is the primary combat stat after production perks. Soft attack strongly affects how much damage your divisions deliver to enemy troops.
- Breakthrough is also valuable for infantry and should be taken as a secondary stat.
- In multiplayer, hard attack and piercing are much more important, as opponents frequently use tanks. Boosting these early will make your infantry effective against armored divisions.
- By the time you reach around 11 MIO perks, production issues are usually solved. If you still have production shortages, skip any perks with negative production effects.
- Support equipment MIO perks are usually only valuable when they apply to support equipment itself. For infantry equipment, use the infantry MIO tree instead.
- Early support equipment research bonus perks are useful and speed up tech unlocks, especially if you focus on supports like logistics or signals.

Pick tank perks by tank role
Tank perk priorities depend on the division role:
- Infantry tanks: Focus on reliability and breakthrough after production bonuses. Speed tends to be less important in mixed divisions with infantry since they only move as fast as their slowest component.
- Motorized and mechanized tanks: Speed becomes crucial—perks granting extra speed should be taken early.
- The standard perk order: production bonuses first, then reliability for infantry tanks and speed for motorized/mechanized. Breakthrough should be taken when your line needs it, especially for offensive divisions.
- For single player, soft attack is most important after production buffs; in multiplayer, hard attack and piercing matter more.
- The infantry tank designer usually gives substantial soft attack and unlocks these perks early—great for most runs.
- The fast tank designer delivers good speed but its production cap bonus appears late, so only use if you need maximum speed.
- Heavy tank designers are generally only relevant in multiplayer where armored divisions are prioritized.
- Assault guns lose too much soft attack compared to the infantry tank designer, making them a weaker pick outside light tank builds.
- Standardized production perks are strong, but not the best overall tank MIO—consider the infantry tank designer for most games.

Pick the right navy MIO for your fleet
The best navy MIO is typically Raiding Shipbuilders:
- Raiding Shipbuilders outperforms most other naval organizations in nearly all scenarios and ship types.
- After production perks, surface visibility reduction is the top stat for ships. Lower visibility means your ships avoid detection, engage on their terms, and survive longer.
- For capital ships (battleships, carriers), pathing differs compared to screens and submarines. Prioritize perks differently depending on your fleet setup.
- Speed is valuable for all ships, reducing the chance of being hit during combat.
- Screens benefit from torpedo attack—the right MIO can boost this, making destroyers much more potent.
- Escort Shipbuilders add considerable light attack, an asset for cruisers and destroyers.
- Carrier-focused MIOs grant carrier HP, anti-air, speed, and armor. They are situational, but rarely outperform Raiding Shipbuilders.
- Battleline Shipbuilders are viable for battleships but lack strong visibility reduction and output perks.
- Submarine MIOs are good for subs but usually weaker than Raiding Shipbuilders—even in pure submarine fleets.

Pick plane perks by aircraft type
For aircraft MIOs, tailor the perks to your plane type:
- For fighters, prioritize air attack first—this is their main offensive stat and determines air superiority.
- For Close Air Support (CAS), ground attack is the key stat.
- For naval bombers, focus on surface detection and naval attack to maximize fleet damage.
- Secondary stat order for fighters: air defense, agility, speed, reliability. Agility helps dogfighting, speed extends operational range, reliability is mostly negligible for planes.
- Medium aircraft follow the same stat order as lighter planes, though some range-focused designers offer superior bonuses.
- Range-focused designers (like Germany’s Focke-Wulf) can deliver +10% range and +10% air attack immediately. With just three perks, you can hit +20% range.
- The later +15% range perk is available once advanced machine tools are researched.
- Italy’s range-centric designer has fewer perks than Germany’s equivalent, making it somewhat less potent.


Pick policies for cap, gain, and materials
Policies can’t be saved for later, so manage perk assignments to unlock them when needed. You can leave one or more perks unassigned to delay the policy choice until the right moment.
- Assembly line optimizers is a reliable default policy—boosting both efficiency cap and efficiency gain for all production.
- Vertical integration is essential for large navies, as it reduces required materials by 10%. It’s also valuable for air power, especially when rubber is scarce.
- Some policies expand which equipment types a given MIO can be assigned to—for example, allowing a tank MIO to buff heavy tanks or a shipbuilder MIO to apply to carriers.

Remember the main default picks
Keep these defaults in mind for faster decisions and optimal outcomes:
| Default | Pick / Stat |
|---|---|
| First perk | Production-related perk 1:59 |
| Production stat | Efficiency cap 3:25 |
| Navy MIO | Raiding Shipbuilders 14:32 |
| Fighter offensive stat | Air attack 18:38 |
| Infantry combat stat (SP) | Soft attack 8:06 |
| Tank combat stat (infantry tank) | Reliability 12:23 |
Also worth knowing
- Vertical integration is especially valuable when resources are scarce. Use it for large navies or air production when steel or rubber are limited.
- Some policies expand MIO assignment. Picking specific policies lets MIOs apply to additional equipment types like carriers (for shipbuilders) or heavy tanks (for tank designers).
- A policy boosting MIO funds can speed up perk unlocks. Temporarily increase MIO funds to unlock perks faster, then switch back to another policy once progress is made.
- Heavy Gantry Cranes policy lets tank MIOs buff heavy tanks. This can make standardized production buffs apply to heavy tanks, even if the tree normally restricts them.
- Updating too many equipment variants quickly hurts production efficiency. Each new variant drops efficiency, so avoid spamming perk changes unless you can manage the short-term losses.
Frequently asked
What is the best overall MIO perk order?
Production perks come first, then combat perks later. The main reason is that production bonuses work for more of the run, while combat bonuses matter more once the wars begin. If a tree offers both, take the production-side value first unless the equipment type needs an early combat stat badly.
What is the best production buff to pick?
Production efficiency cap is the strongest production buff. Output is next, then efficiency gain. Cap matters most because it raises the ceiling that all other efficiency growth works toward.
Should I use one MIO for both design and production?
Not always. Using different MIOs for design and production lets you combine strong production bonuses with stronger combat stats on the same equipment type. The tradeoff is slower perk unlocks, so it is usually better later than earlier.
Which policy should I pick if I want faster MIO progress?
A policy that boosts MIO funds or perks is useful when you want to level an organization faster, then switch back later. Another strong default is assembly line optimizers, since it gives both extra cap and gain. For large navies, vertical integration is also valuable because it reduces material use.
Read next
HOI4 Production Efficiency Guide
Why two countries with the same factories produce different amounts of equipment in Hearts of Iron IV: how production efficiency builds on a running line, what retention keeps when you switch, when conversion beats replacement, and the habit that quietly costs the most output.
HOI4 Resistance and Compliance Guide
How occupied territory actually works in Hearts of Iron IV: what resistance costs you, what compliance gives back, how occupation laws set both at once, and what garrisons draw from your stockpile. Includes the values the game uses at capture and the trade a harsher law makes.
HOI4 Supply and Logistics Guide 2026
This guide explains how supply, logistics, and air support decide frontline strength in Hearts of Iron IV. It is for players who want to hold long fronts, push through bad terrain, and build armies that do not collapse from attrition.
HOI4 Air Meta Guide 2026
Build efficient fighters, CAS, naval bombers, and carrier-based naval bombers with the current small-airframe priorities. This is for players who want to win air wars with fewer losses and less strain on rubber and aluminium.