
🎯 The core idea
Razor's sniper deep-dive covers four bolt-action rifles (SV-98, R93, M700, AWM) with both long-range and close-range/TDM build variants where relevant, built around one core principle: bolt-actions don't need control or firing-stability calibration since you're only firing one shot at a time — stability while holding your breath is what actually matters. This profiles each rifle's build logic and attachments plus the universal accessory advice that applies across every sniper in the game, as tips for building your own loadout rather than a fixed tier list.
- free costs nothing
- cheap small cost
- setup needs preparation
- grind pays off slowly
- skip the thing to stop doing
The one calibration rule that applies to every sniper here

SV-98: an underrated one-shot pick

The SV-98 gets slept on according to this source, since the R93 and AWM tend to dominate discussion. This build maximizes muzzle velocity and range, plus a stability piece, since control doesn't matter on a bolt-action — holding your breath is the actual counter to sway. The SV-98 deals 240 damage to the head in this build, which is a guaranteed one-shot kill regardless of what armor or attachment choices the target is running.
R93: long-range one-shot vs. close-range TDM

The long-range R93 build uses a long barrel to maximize one-shot range, also hitting 240 damage to the head for a guaranteed headshot kill at any distance the bullet can still reach, plus a heat shield and the same muzzle-velocity-and-movement-speed calibration philosophy as the SV-98. Maxing muzzle velocity is explicitly framed here as making the rifle feel closer to hitscan at longer ranges — you can point at where an enemy is and trust the bullet arrives fast enough to still hit them.

The close-range/TDM version swaps to a short barrel for a faster fire rate, maximizes stability, and fits a laser via a multi-purpose rail attachment (the only way this source found to mount one on this configuration) alongside a 2x Russian Accuracy scope — built for players who want to run a sniper aggressively rather than hold long sightlines.
M700: the flinch-resistant long-range pick, and a fast-cycling close build

The long-range M700 build's standout piece is a flinch-stability-increase attachment — described in the source as the best counter-sniper piece in the game, since it reduces how much incoming (non-headshot) fire shakes your screen, letting you effectively tank bullets and return fire without losing your aim. Muzzle velocity is again maxed for range, with the magazine attachment costing only handling — an acceptable trade since stability isn't affected.

The close-range M700 build runs a fire-rate-suppressed barrel, an advanced-frame-system handguard for extra attachment slots, a stability-focused grip, and a 1P33 2-4x scope described as adding stability without the weight of heavier options — reaching a reported 0.12s hipfire-aim-speed value in this build, which the source calls out as unusually fast for a bolt-action.
AWM: "the big daddy," still a current pick

The AWM gets two stability calibration patches to push it close to its apparent maximum (around 0.7 in this source, though the exact cap isn't confirmed weapon-by-weapon), plus added modification slots. One genuine oddity called out here: the AWM is apparently the only gun in the game with no magazine slot by default, yet a magazine can still be fitted through the added-slots system. Community tier-list tracking from mid-2026 continues to list the AWM as a strong current Recon sniper pick, which is the one weapon in this build set independently confirmed to still hold up at the time of this guide's publication.

The source closes with roughly ten minutes of live sniping gameplay across these builds and their attachments in action, rather than narrated tips -- a useful watch to see how each loadout's bullet drop and travel time actually feel at range, even without a spoken walkthrough.
Universal build advice: two saves, one grip choice
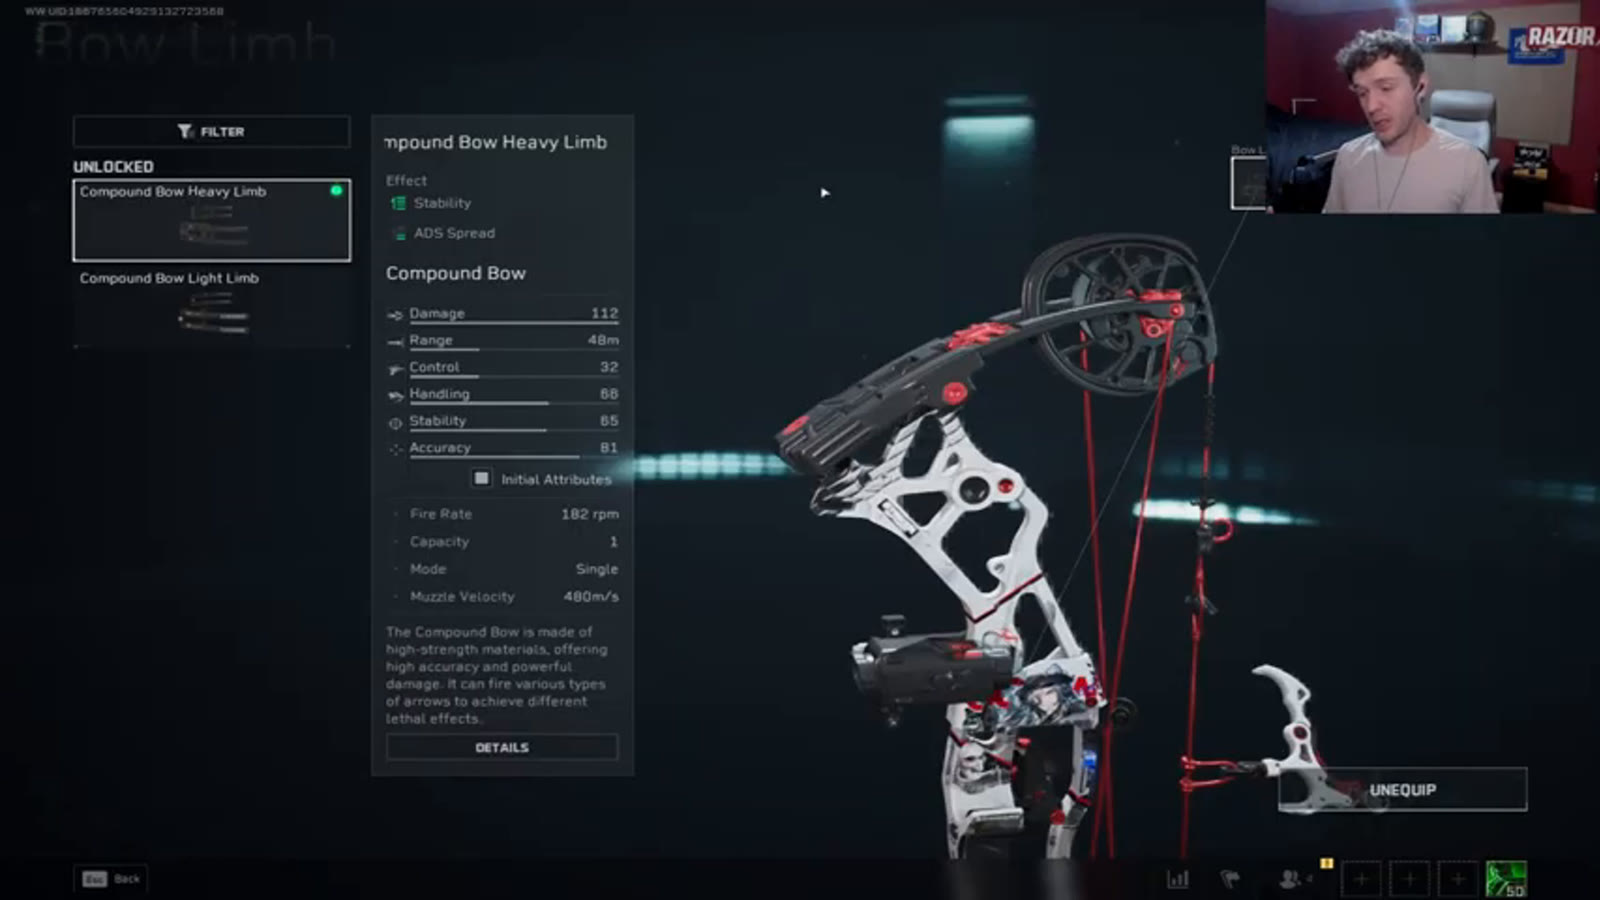
Across every sniper covered here, the source recommends saving two separate builds per weapon — one calibrated around ADS (aiming down sights), one around hipfire — differing mainly in a single bow-limb attachment choice. For the shared attachment slots, the enhanced grip piece is recommended on both builds for its ADS speed improvement, and a boost-and-accuracy piece is worth adding as a last-resort option for when an enemy closes distance unexpectedly and you're forced into a snap shot rather than a held one.
This source also covers pistols and every other weapon class through the same build series (linked from the video's own description), so the calibration philosophy above — control and firing stability don't matter on bolt-actions, stability and hold-breath do — is specific to sniper rifles and shouldn't be assumed to carry over to full-auto weapons.
How this guide was fact-checked
This guide is sourced from Razor's "ALL THE BEST SNIPER BUILDS IN DELTA FORCE!" (22:21, published 2025-12-10, roughly eight months old at the time of research — past the six-month window this catalogue treats as a meta-risk flag for build content). Every stat, calibration choice and build detail was read directly from the Gunsmith screens and narration in the source footage. Cross-checking against current Season 10: Meltdown weapon tier-list coverage confirmed the AWM remains a viable current Recon sniper pick; the R93, M700 and SV-98's exact current standing could not be independently confirmed through this cross-check, since recent tier-list sources focus heavily on the newly added SVCH marksman rifle and semi-auto DMRs (SVD, M14, SKS) rather than these three bolt-actions specifically.
What this guide doesn't answer
This guide doesn't give a current Season 10 tier ranking for the R93, M700 or SV-98 specifically, since available cross-check sources for this catalogue focus on the SVCH and semi-auto DMRs rather than these three bolt-actions — treat their build details as an eight-month-old snapshot rather than confirmed current standing. It also doesn't cover the SVCH itself, a full-auto-capable marksman rifle added in Season 10 after this source video was published, which now sits in a similar mid-to-long-range role and has reportedly cut into pick rates for older semi-auto DMRs. Finally, it doesn't cover pistol builds or any weapon class beyond snipers, even though the same creator's series covers them separately.
Read next
Delta Force Best SMG Guide: MP5, Vector, P90, Vityaz, QCQ171 and MK4 Builds Compared
Six Delta Force SMG builds compared with real Gunsmith stats: the versatile MP5, the 1091-RPM Vector, the high-control P90, the stability-focused Vityaz and QCQ171, and the MK4 — the SMG that still keeps pace with assault rifles in Season 10.
Delta Force Ammo Types & Armor Penetration Guide: How Damage Really Works
A stat-by-stat breakdown of how ammo penetration level, armor penetration falloff, range falloff, and armor protection level interact in Delta Force Operations, verified against real in-game damage readouts.
Delta Force Best AKM Loadout: Season 10 Meta Build Guide
Razor's S10 meta AKM build for Delta Force Warfare: best attachments, calibration numbers, and what the stat screens show that he doesn't say out loud.
Delta Force Best Settings & FPS Optimisation Guide (PC): Graphics, Keybinds and Audio
A full PC settings pass covering combat quality-of-life toggles, the double-bind trick for tactical offset optics, per-operator keybind profiles, a sharpness/FOV/graphics baseline for consistent FPS, and the two audio settings that matter more than any mixer.