
🎯 The core idea
Truck automation is the cheapest way to move bulk cargo across a map before trains are worth the investment, but this guide's source video -- recorded on Update 1.0 -- teaches a route-recording workflow that no longer exists. Update 1.2 replaced recorded routes entirely with Vehicle Paths, a placeable rail-like network, so this guide follows the source video for everything that's still true (truck stations, fuel, cargo, road-building sense) and rebuilds the actual automation steps from the current Satisfactory Wiki instead of repeating an obsolete tutorial.
- free costs nothing
- cheap small cost
- setup needs preparation
- grind pays off slowly
- skip the thing to stop doing
Truck Stations still work exactly like the video shows

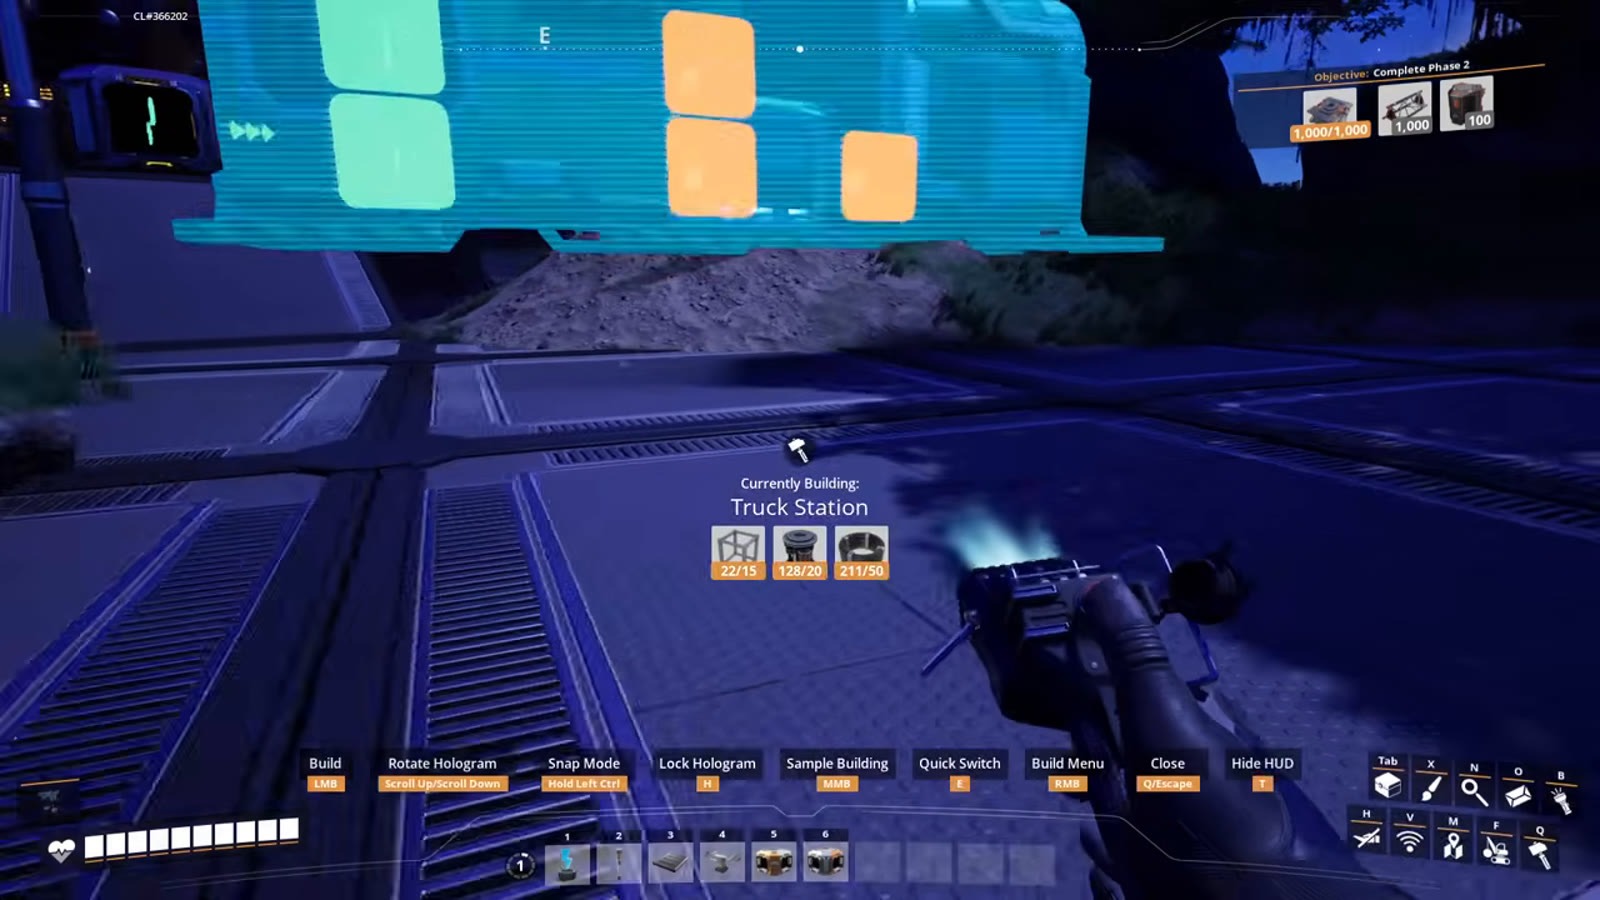
A Truck Station has two functional sides: the front, where the vehicle actually parks and loads or unloads, and the back, which takes conveyor belt inputs for cargo and fuel. This part of truck station setup hasn't changed since 1.0. Each station is set to either loading or unloading, never both, and it does nothing at all until it's powered -- an unpowered station just sits there with cargo backing up on the belt behind it.
Connecting cargo and fuel to the station

A loading station typically needs two belt connections: one for the cargo item itself and one for fuel, so an idle vehicle refuels automatically the moment it parks. An unloading station only needs the cargo output belt. This is the same setup this guide's source video demonstrates for a simple coal-to-power-generator line, and it's still exactly how a Truck Station is wired today -- only the way a vehicle gets from one station to another has changed.
Fueling and loading a vehicle manually

Every vehicle -- Truck, Fluid Truck, Tractor, Explorer, Factory Cart -- has its own cargo and fuel hatch, opened by walking up to it and interacting. Vehicle fuel can be topped up here by hand or filled automatically by parking at a fueled Truck Station, and cargo can likewise be loaded or unloaded manually at any time, which is handy for testing before committing to full automation. A Tractor placed next to a running, fueled station picks up fuel immediately, exactly as the source video shows.
The route-recording method in this video no longer exists

This is the part of the source video that Update 1.2 replaced outright. In 1.0 and 1.1, automating a vehicle meant physically driving it once while the game recorded your exact inputs as a macro, then saving that recording as a named path and enabling autopilot to replay it. This guide's source video walks through that entire process step by step -- but it's gone. There is no "press Q to record" step in the current version of the game, and a save that still has a 1.1-or-earlier recorded route will show it converted into the new system automatically, not left as-is.
What replaced it: Vehicle Paths

Since Update 1.2, vehicle automation works through Vehicle Paths -- a placeable network built from the Transport section of the build menu, constructed the same way a Railway is: you place path segments end to end rather than driving anything. There are five separate path-building tools, each locked to specific vehicles: a Universal Path (any vehicle except the Factory Cart), a Tractor Path, a Truck Path (covers both Truck and Fluid Truck), an Explorer Path, and a Factory Cart Path. A path segment can be built in a freeform Default mode that follows terrain with gentle curves, or a Straight mode for exact lines and 90° corners, and every path is one-way -- shown by animated arrows along its length -- so a full delivery loop needs two separate path runs, one out and one back, exactly like a two-way train line needs two tracks.
The screen this video ends on is also obsolete

This "name your path and save it" screen is the step the video treats as the finish line, and it's specifically what got removed. In the current system there's nothing to name at recording time, because there's no recording at all -- a Vehicle Path is a permanent piece of infrastructure the moment you finish placing it, the same as a belt or a foundation. To actually put a vehicle to work, build a Truck Station on the path (or snap a path onto an already-built station), then open the parked vehicle's UI, choose which stations along that path it should service, and switch on Autopilot. A vehicle cannot be manually driven while it's on a path with Autopilot engaged, though you're free to ride along and watch it work.
Truck path not working? Check these first
If autopilot won't engage or a vehicle sits idle, the wiki's own troubleshooting points land on a short list: the path has to physically connect to a Truck Station for that station to be usable at all; the vehicle needs to have that station selected in its own station list, not just be parked nearby; and if the save was carried over from before 1.2, any leftover "legacy" path shows up in a distinct purple with a flashing question-mark icon and can't be edited -- the wiki's own advice is to delete these and rebuild the route as a proper Vehicle Path rather than trying to fix one in place, since the underlying vehicle physics changed with the Unreal Engine 5.6.1 upgrade behind Update 1.2 and an old converted path can behave unpredictably.
Explorer vs Truck vs Factory Cart -- pick the path to match the vehicle
The Explorer is built for a driver, not automation -- it's fast and nimble but exists mainly for manual scouting, and while an Explorer Path exists, most players get more value automating Trucks or Tractors for bulk deliveries and driving the Explorer themselves. The Factory Cart is the odd one out: it's a small, cheap automation vehicle unlocked through the AWESOME Shop, it needs its own dedicated Factory Cart Path (it cannot use a Universal Path), and it's meant for short, low-volume runs inside a single factory rather than long cross-map hauls. A Truck or Fluid Truck on a Universal or Truck Path is still the right pick for the kind of coal-to-generator run this guide's source video sets up, and it's the general-purpose choice for cross-map logistics once a factory has outgrown hand-carrying items between machines.
Truck vs train: when automation stops being the right tool
Truck automation is the cheapest form of bulk transport to set up -- no rail, no signals, no dedicated power substation for the route itself -- which is exactly why this guide's source video recommends it as the first thing to automate rather than hand-carrying cargo between factories. But a Truck Station's throughput is capped by how often a single vehicle can complete its loop, so a route with a long travel distance or a high per-minute cargo demand eventually needs either several trucks running the same path or a switch to trains, which move far more cargo per trip once the up-front rail cost is worth paying. Trucks are the right call early and for shorter, lower-volume routes; trains take over once a delivery is too big or too far for a handful of vehicles to keep up with.
Build the road, don't fight the terrain

Vehicle speed on a path is physics-based, not fixed: a flat, straight, well-built path lets a vehicle run at its top speed, while inclines, declines, and sharp curves all slow it down, and rough natural terrain forces tighter turns than a deliberately built road would. This is exactly the advice this guide's source video gives -- the smoother the road, the faster deliveries arrive -- and it's just as true under the current Vehicle Paths system, where a path's own curvature and grade directly set how fast anything traveling it can go. Cosmetic road skins (including asphalt) are available from the AWESOME Shop if a paved look matters, but they're purely visual and don't change the physics.
Give vehicles room, especially at intersections

A vehicle built with too little clearance around it tends to get stuck trying to turn, exactly the failure mode this guide's source video calls out. Under Vehicle Paths this shows up specifically at intersections: where one path crosses another, the game recommends keeping the crossing section short, since a vehicle waiting its turn brakes well back from a busy intersection rather than nudging forward, and a cramped junction with several paths crossing close together is the single most common place a route quietly stalls out.
How this guide was fact-checked
The Truck Station's front/back layout, the loading-vs-unloading toggle, the power requirement, and the manual cargo/fuel hatch all come directly from this guide's source video's own on-screen demonstration, and none of that has changed since 1.0. The entire route-recording workflow the video walks through, however, has been fully replaced: the current Satisfactory Wiki's Vehicle Paths page confirms the old recording system is gone as of Update 1.2, describes the five path types (Universal, Tractor, Truck, Explorer, Factory Cart) and their vehicle restrictions, states that all paths are one-way, and explains that pre-1.2 recorded routes are auto-converted into uneditable "legacy" paths shown in purple that the wiki itself recommends deleting and rebuilding. The physics-based speed behavior (straight and flat is fastest; curves, grades, and intersections slow a vehicle down) and the Factory Cart's dedicated path requirement are also wiki-confirmed. Where the video and the wiki disagree on how automation actually works, the wiki's current-version description is what this guide follows.
What this guide doesn't answer
This guide doesn't give exact build costs or unlock-tier requirements for each of the five Vehicle Path types beyond noting roughly where they unlock, since a full materials breakdown belongs in a dedicated build-cost reference rather than a workflow guide. It also doesn't cover Fluid Truck-specific plumbing (connecting a Truck Station to a pipe network instead of a belt), since this guide's source video's example is a solid-cargo coal run and that's a distinct enough setup to deserve its own walkthrough. Finally, it doesn't cover the third-party ClearVehiclePaths mod some players use to mass-delete legacy converted paths after an update, since this guide sticks to base-game tools only.
Read next
Satisfactory Hypertubes & Fast Travel Guide
Satisfactory Drone Transport & Logistics Network Guide
Satisfactory Train Guide: Tracks, Signals and Circuits
Everything needed to set up your first Satisfactory train line: track placement, station timetables, push-pull circuits for dead ends, and signal blocks for running multiple trains safely.