
🎯 The core idea
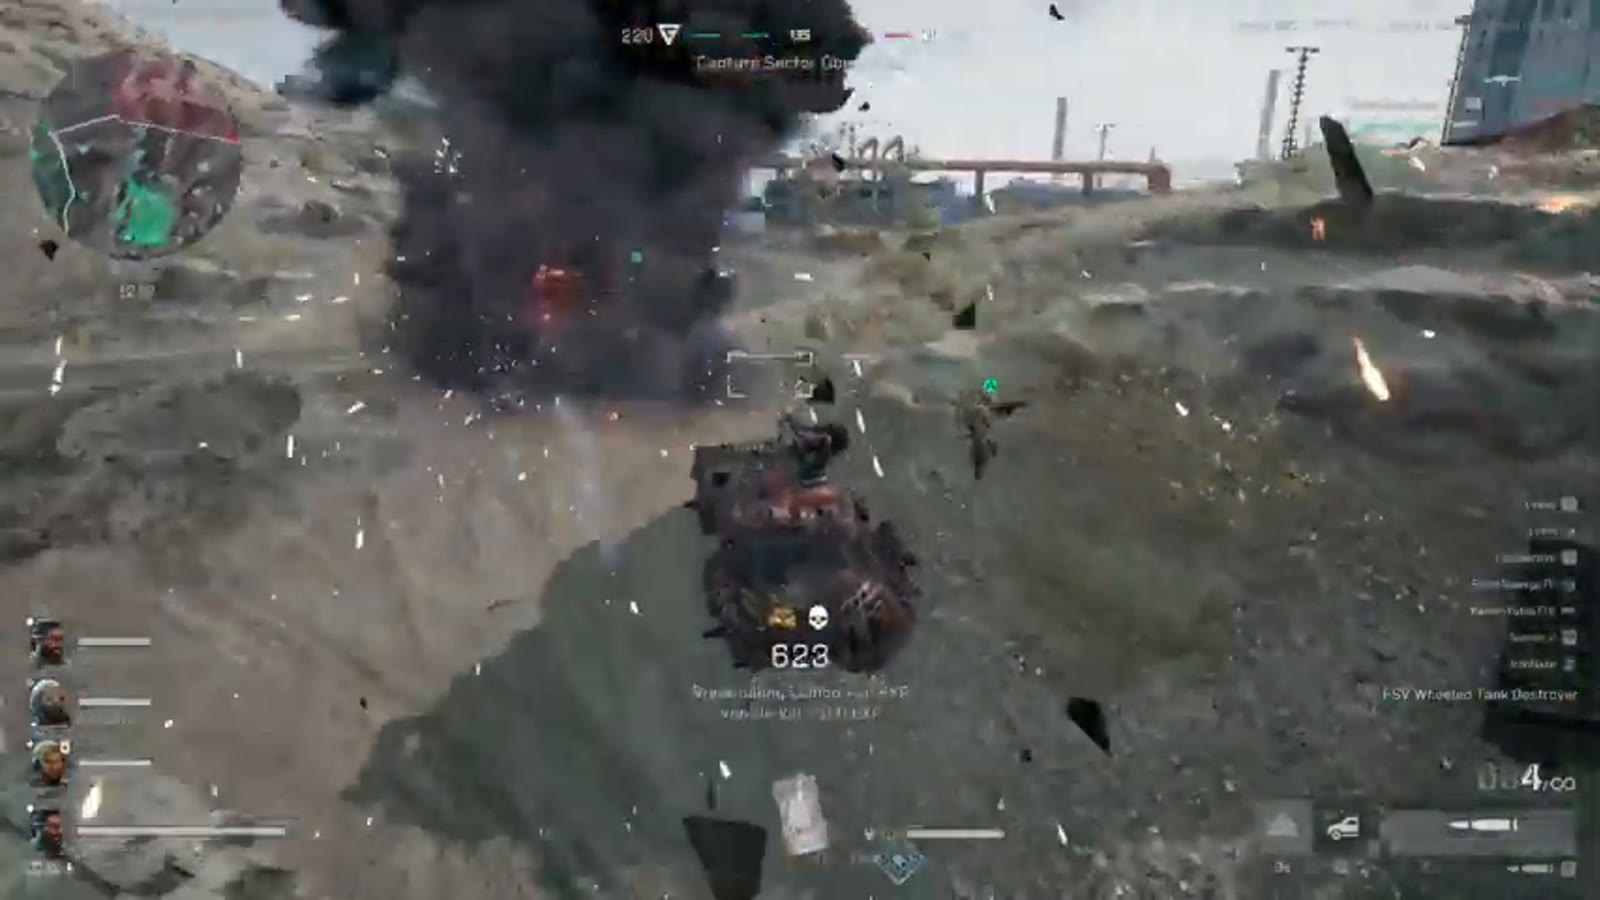
Warfare in Delta Force is genuinely vehicle-centric — running the wrong loadout on a tank, LAV, boat, heli or jet doesn't just hurt you, it hurts your whole team. This covers loadout customization tips for every armored and air vehicle class (not counter-play, which this catalogue's anti-vehicle guide already handles): the M1A4 Battle Tank, GTQ-35 Light Tank, LAV IFV, LAV AA, the FSV wheeled tank destroyer, the Assault Vehicle, the Assault Boat, the Recon Heli, the Assault Heli and the Jet.
- free costs nothing
- cheap small cost
- setup needs preparation
- grind pays off slowly
- skip the thing to stop doing
Battle Tank: the heaviest hitter, best used against other vehicles

For the secondary weapon, the heavy machine gun beats the light despite its slower fire rate, since it's more effective against infantry. For weapon pods, the mortar is the standout pick — high damage to both vehicles and infantry, with a real skill ceiling that rewards a dedicated gunner. Canister rounds are usable but not best-in-slot; rocket barrage, kinetic grenades and multi-grenade launchers are all rated as actively bad picks. This vehicle is mainly worth running on Ascension attack, where you can get behind enemy lines more easily than on defense.
Light Tank and LAV IFV: infantry control over raw vehicle damage

The Light Tank has very few loadout choices, but the main-gun decision matters: multi-purpose shells are the better all-rounder after a nerf to the once-dominant gun-launched missiles, since the missiles are strong against vehicles but poor against infantry. As with every vehicle here, take the heavy machine gun secondary and Active Defense over repair.

The LAV IFV's shrapnel shell (gear slot one) paired with Active Defense is described as one of the strongest combos in the game for clearing infantry in the open — it's been nerfed from its original range and damage, but is still highly effective at closer range. Canister rounds do good work against infantry but literally zero damage to vehicles, which is why almost nobody runs them here; APFSDS is the pick when other vehicles are a threat, high-explosive shells when they aren't.
LAV AA: anti-air that works better as an anti-infantry cannon

Always run the 30mm autocannon over the 20mm — despite the 20mm's faster fire rate, the 30mm does more damage to both vehicles and infantry. The AA missile secondary is mostly a backup: this source destroys most helicopters with the 30mm directly rather than relying on missile locks, and only reaches for missiles against a genuinely skilled pilot, sometimes locking on without firing specifically to bait out their flares first. Unlike most other vehicles, the LAV AA has no Active Defense option at all — only repair.
FSV wheeled tank destroyer: rated the best vehicle in the game

The 90mm howitzer beats the 40mm in a straight 1v1 every time in this source's assessment — it one-shots most infantry on a direct hit (with an explicit exception for Shepherd's explosive-damage-resistant passive) where the 40mm often doesn't, and the 40mm's faster fire rate isn't enough to make up the difference. A unique quirk called out here: anti-air missiles fired from the FSV specifically cannot be dodged, unlike the AA missiles from other vehicles, which can be evaded. Thermal smoke plus Active Defense is the standard gear-slot pairing, and the grenade launcher weapon station beats the canister-round and multi-grenade-launcher alternatives.
Assault Vehicle, Assault Boat, and where each vehicle actually gets used

The Assault Vehicle's canister-round weapon station is preferred here over the default grenade launcher specifically for dealing with infantry rather than other vehicles — it fires all eight rounds quickly rather than on a cooldown. The Assault Boat is situational to specific maps (Cyclone especially, occasionally Ascension) but strong when it applies: the 30mm autocannon secondary beats every other option against boats, infantry and even air targets you can hit, and thermal smoke plus Active Defense is again the standard gear pairing — in a 1v1 boat duel, holding Active Defense until the enemy commits their ammo at you is the described winning play.
Recon Heli and Assault Heli: air support loadouts

The Recon Heli (Little Bird) is called out as the best air vehicle in the game in a skilled pilot's hands: run the 20mm twin autocannon over the 7.62mm twin machine gun, and anti-personnel rockets as the secondary — its only real weakness is being one-shot by an AT4 or a loitering munition. The Assault Heli's loadout depends more on the map: anti-personnel rocket missiles are the default most top-level flyers run, but anti-vehicle rockets are worth switching to on maps like Ascension where enemy vehicle play is a bigger threat. Air-to-ground missiles are the clear secondary pick over wire-guided missiles for both helicopters, since genuine air-to-air engagements are rare.
Jet: the vehicle that scales hardest with unlocks

The 30mm cannon is the better all-around pick over the 25mm. For secondary weapons, radar-guided missiles are rated as actively bad and worth avoiding entirely — new players without the 70mm rockets unlocked yet are stuck choosing between air-to-air and air-to-ground missiles, and air-to-air is the safer learning pick since it lets you handle enemy jets directly. Once the 70mm unlocks, it becomes the clear priority for dealing with other jets, and air-to-ground remains mandatory on maps like Cyclone specifically to clear the AA and tank-destroyer vehicles the defending side gets access to.
How this guide was fact-checked
This guide is sourced from RandiiSavage's "Delta Force best Vehicle Loud Outs| Destroy Every Lobby" (20:11, published 2026-01-16) — a usage-focused loadout breakdown rather than a counter-play guide, which this catalogue covers separately through its own anti-vehicle guide. Every loadout recommendation and in-game mechanic described here (weapon options, gear slots, the FSV's undodgeable AA missile quirk, per-vehicle recommended kits) is presented as this experienced player's own build advice and testing rather than official patch notes, and is reported that way — several details are explicitly framed in the source itself as balance-dependent (the LAV IFV's shrapnel shell and the LAV's gun-launched missiles are both noted as having been nerfed since their original release).
What this guide doesn't answer
This guide doesn't cover how to counter or destroy enemy vehicles from an infantry perspective — that's covered by this catalogue's separate anti-vehicle guide, which this source explicitly doesn't attempt to replace. It also doesn't give exact current damage numbers or ranges for any weapon (the 40mm-vs-90mm one-shot range, the shrapnel shell's post-nerf radius), since the source itself doesn't state precise figures for these, only relative comparisons. Finally, it doesn't cover flight or driving controls and technique in any depth — the source explicitly recommends practicing in Battle Practice mode for players struggling with vehicle handling itself, rather than covering that skill here.
Read next
Delta Force Best AKM Loadout: Season 10 Meta Build Guide
Razor's S10 meta AKM build for Delta Force Warfare: best attachments, calibration numbers, and what the stat screens show that he doesn't say out loud.
Delta Force Best Sniper & Marksman Rifle Guide: SV-98, R93, M700 and AWM Builds
Four bolt-action sniper builds (SV-98, R93, M700, AWM) with long-range and close-range/TDM variants, built around the core rule that bolt-actions need stability, not control or firing-stability calibration.
Delta Force Vlinder Guide: Season 8's Battle Medic Operator, Abilities Explained
Vlinder's full kit explained: Bio Scan, the steerable Windmill Smoke Grenade, Med Drones, and the animation-free revives of Flutter Rescue UAV — plus unlock criteria and where she shines.
Delta Force Anti-Vehicle Guide: How Infantry Can Counter Tanks and Helicopters
Which gadgets actually kill vehicles in Delta Force Warfare, vehicle weak spots, and the squad tactics that beat a good tank or helicopter crew — plus why the AT4 beats the Javelin and Stinger.