
🎯 The core idea
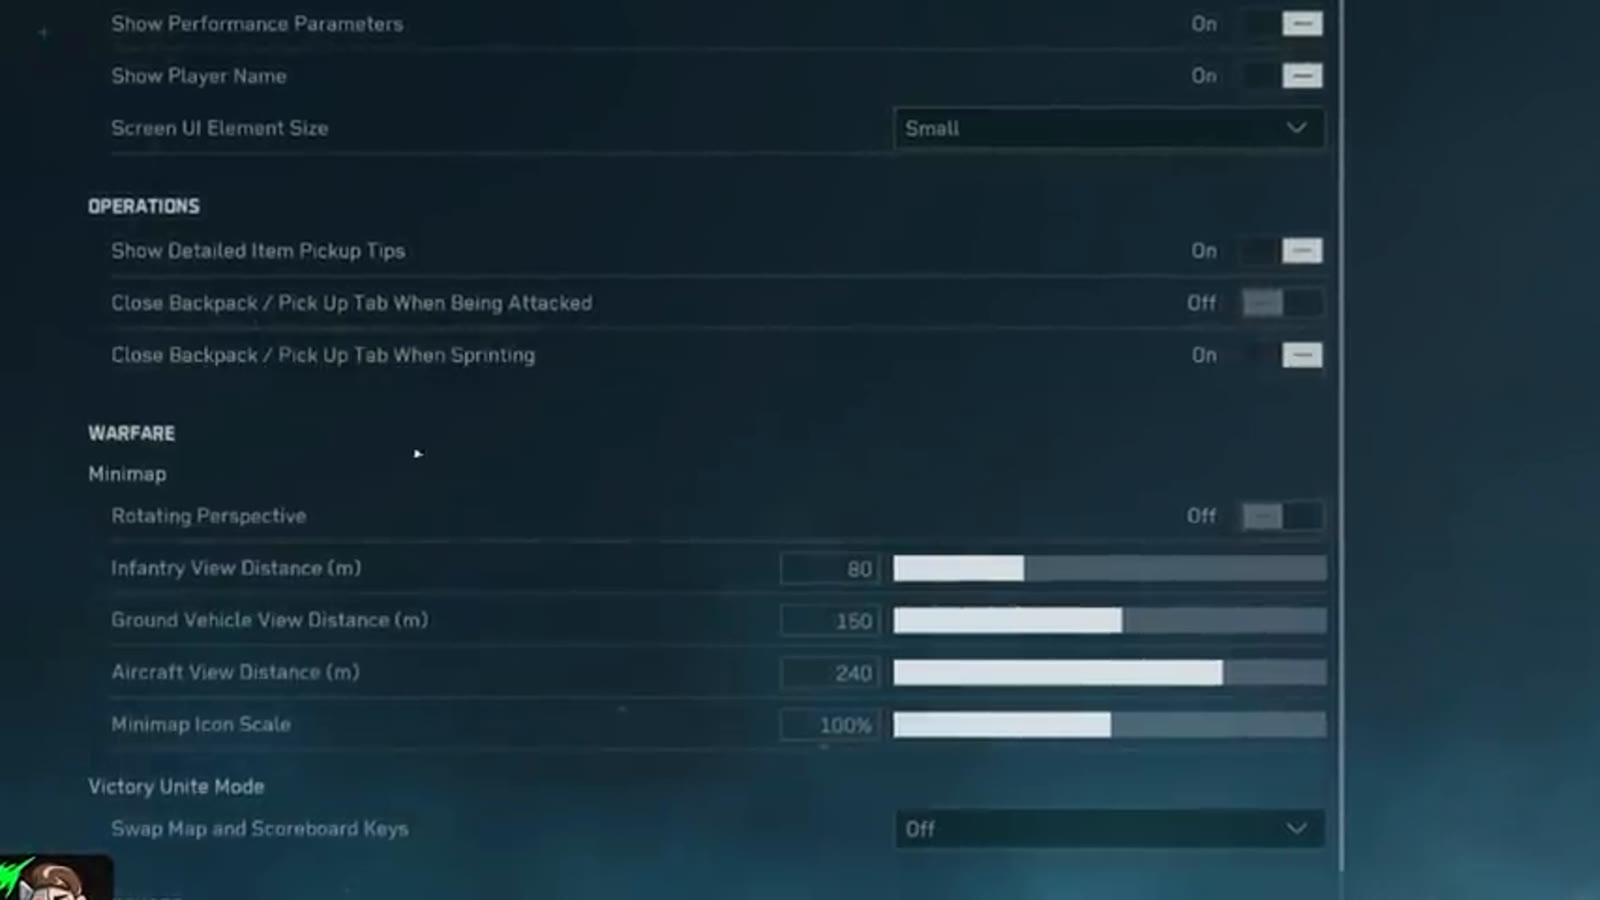
POACH's settings and FPS breakdown covers everything added since the previous settings video: combat quality-of-life toggles, the new double-bind system for tactical offset optics, per-operator keybind profiles, and a graphics/audio baseline built around getting consistent frames without giving up clarity. This profiles the settings worth actually changing rather than walking through every menu.
- free costs nothing
- cheap small cost
- setup needs preparation
- grind pays off slowly
- skip the thing to stop doing
Sensitivity and display basics before anything else
Mouse sensitivity is worth setting low relative to other shooters — this source's own take is that Delta Force rewards slow tracking and holding precise angles, which is generally easier to do on lower sensitivity than higher. Beyond that, the display and sensitivity sliders themselves are standard and worth testing in a private match before taking them into a competitive lobby, since the right feel is genuinely personal rather than something to copy verbatim.
Combat settings worth turning on

Most of the combat tab is personal preference — scope-based FOV changes, reload logic improvements, and whether reloading interrupts ADS are all worth testing yourself rather than copying blindly. Two settings are worth turning on regardless of taste: the option that guarantees high-value loot goes straight to your safe box (so getting shot mid-loot doesn't cost you a gold item), and the loot-hearing/box-locking option if you're playing solo fills with random teammates — it locks your loot boxes for a period so teammates can't take from them. The stash auto-sort-order feature is also worth setting up once and forgetting about.
Keybinds: the double-bind trick for tactical offset optics

Flashlights are worth binding on any loadout that can afford one: holding the bind toggles the flashlight and laser independently, and pressing it activates roughly two uses per flashlight that can fully blind an enemy — a genuine tactic, not just a visibility tool.
Operator preferences: per-character keybind profiles

New since the previous settings guide: you can set individual keybind profiles per operator rather than one global scheme. If you don't like a particular character's ability bind — the example given is Byron's bomb — you can change it just for him without touching every other operator's controls. Right now this mostly covers the movement-focused characters; expect more operators to get their own preference options over time.
Graphics: sharpness, FOV and the settings this source actually runs

Graphics and display settings depend heavily on your specific rig and monitor, so treat these as a starting baseline rather than a universal answer for either a high-end competitive rig or lower-end, low-spec hardware — this source is explicit that the game runs well on almost any settings, so the choice is more about how you like it to look than a hard performance requirement.
Two settings matter more than the rest: sharpness should be at 100 (lower just adds blur with no upside), and field of view is worth pushing higher if you can tolerate smaller on-screen models in exchange for more peripheral vision — this source runs 120 FOV, though 90-110 is common too. Beyond that, running mostly low-to-medium settings with textures bumped up is the balance this source uses to keep the game looking decent on stream while prioritizing frame rate.
Super resolution, frame generation, and eye comfort mode

Frame generation is locked to RTX 40-series cards or newer, and turning it on can nearly double your reported FPS — it's an AI-driven boost rather than genuinely rendered frames, so it won't feel identical, but this source didn't notice the input delay some players report and leaves it as a "try it yourself" setting. Super resolution mode is worth testing at a few different levels rather than picking one blind, since the right balance depends on your specific hardware. The actual target, regardless of exact settings, is a game that isn't stuttering and holds a consistent frame rate — this source runs over 300 FPS on almost every map with no stutter using this baseline.

Eye comfort mode is worth turning on if flashbangs or bright flashes normally blind you — it darkens flash effects toward black instead of full white, which this source says can make it easier to actually see through a flash rather than just less painful.
Audio: the two settings that matter more than any mixer

There's no special audio hardware or mixer trick behind hearing footsteps well — this source is explicit that most of it comes down to time played and learning the game's audio cues. Two settings are non-negotiable regardless: master volume and sound effect volume should both be at 100 (turn down your Windows volume instead if it's too loud), and HRTF should be on for directional audio rather than off or set to object-based binaural, which this source finds sounds unnatural by comparison.

Beyond that, video volume is worth turning down if extraction cutscenes and cinematics blast your ears, voice volume is worth lowering if mid-raid announcer chatter is drowning out gunfire, and copyright music playback is worth switching off entirely — king-of-the-hill objectives like the wall breaker and rocket missions play music that can drown out the sound of enemies pushing you.
How this guide was fact-checked
This guide is sourced from POACH's "NEW Settings + FPS Guide in Delta Force" (10:49, published 2026-03-30, 44.7K views), which is itself an update to the creator's previous settings video and explicitly calls out what's new since then (the operator preferences tab, double-binding for tactical offset optics and hold-breath). Every setting, keybind and menu location described here is read directly from the creator's own configuration as shown on screen; the hardware-dependent claims (frame generation requiring an RTX 40-series card or newer, the roughly 300 FPS this source reports) are the creator's own reported experience rather than independently benchmarked figures, and are presented as such rather than as a guarantee for every rig.
What this guide doesn't answer
This guide doesn't give exact FPS numbers for any specific hardware configuration other than the creator's own — settings that get one player to 300+ FPS may perform very differently on older or weaker hardware, so treat the graphics section as a starting baseline to tune from rather than a fixed target. It also doesn't cover controller settings at all, since the source is explicit that they aren't a controller player and didn't want to guess at binds they don't use. Finally, it doesn't rank every possible keybind combination — only the ones this source specifically calls out as changed or worth trying, like the tactical offset optic double-bind and Q/E lean toggle.
Read next
Delta Force Ammo Types & Armor Penetration Guide: How Damage Really Works
A stat-by-stat breakdown of how ammo penetration level, armor penetration falloff, range falloff, and armor protection level interact in Delta Force Operations, verified against real in-game damage readouts.
Delta Force Best Sniper & Marksman Rifle Guide: SV-98, R93, M700 and AWM Builds
Four bolt-action sniper builds (SV-98, R93, M700, AWM) with long-range and close-range/TDM variants, built around the core rule that bolt-actions need stability, not control or firing-stability calibration.
Delta Force Best SMG Guide: MP5, Vector, P90, Vityaz, QCQ171 and MK4 Builds Compared
Six Delta Force SMG builds compared with real Gunsmith stats: the versatile MP5, the 1091-RPM Vector, the high-control P90, the stability-focused Vityaz and QCQ171, and the MK4 — the SMG that still keeps pace with assault rifles in Season 10.
Delta Force Anti-Vehicle Guide: How Infantry Can Counter Tanks and Helicopters
Which gadgets actually kill vehicles in Delta Force Warfare, vehicle weak spots, and the squad tactics that beat a good tank or helicopter crew — plus why the AT4 beats the Javelin and Stinger.