
🎯 The core idea
Delta Force's medical system has three separate problems it wants you to solve — stamina, bleeding/broken limbs, and lost HP — and each has its own family of consumables with real tradeoffs in price, speed and uses. This walks through every stamina stem, repair kit, bandage, painkiller, surge kit and healing item, cross-checked against the current item database, plus what a sensible budget-to-best medical loadout actually looks like.
- free costs nothing
- cheap small cost
- setup needs preparation
- grind pays off slowly
- skip the thing to stop doing
Stamina stems (syringes): cheap options through the "always bring this" pick
The source video groups all of these stamina and perception stems under its "Syringes" chapter, since they're administered the same way in-game as a quick injector pen.

Stamina stems are essential in this game if you can afford them. Norepinephrine (the cheap blue stem) gives a maximum stamina increase for 120 seconds and is a solid budget alternative to the rest of the lineup, with a 3-second activation time shared across the whole stamina family. The M1 Muscle Booster increases your load capacity for 180 seconds, which cancels out the overweight movement debuff you get from heavy armor or a full backpack — its M2 Muscle Injector upgrade does the exact same thing but for 300 seconds at a higher price, with no different effect beyond duration.
The OE2 Combat Stimulant (often just called the combat stem) is one of the best picks in the whole consumables list: it instantly and fully replenishes lost stamina in about 3 seconds, which is what lets you outrun a chasing squad with a heavy loot bag or close the gap on a fleeing enemy. The Stamina Activator does something different — it raises your max stamina and speeds up how fast it regenerates over 180 seconds rather than refilling it instantly — and its upgraded Stamina Booster version stretches that to 300 seconds. Whether you'd rather have an instant refill or a longer regen boost is genuinely down to personal preference.
Perception stimulants for hearing footsteps early

The Perception Activator boosts your hearing range for 180 seconds and its upgraded Perception Booster version stretches that to 300 seconds — both are worth bringing if you can afford them, since the hearing range increase is dramatic enough to catch footsteps you'd otherwise miss entirely.
Repair kits: match the color to your armor tier

Armor takes damage as you're shot and eventually breaks outright; a repair kit is the only way to bring it back to near-full durability mid-raid. Each kit carries its own durability pool (the basic blue kit holds 50) and consumes a chunk of that pool per repair — 25 per plate on the blue kit — with roughly a 4-5 second activation time across the lineup.
Stopping bleeds: bandages, the CAT, and a bleed-control loadout

Getting shot (by players or AI) can trigger a bleed debuff that slowly drains your health over time — you'll see a small icon in your status bar confirming it. The elastic bandage stops a bleed outright, and the CAT tourniquet does the same job faster and cheaper: 2.5 seconds to use, four uses per item, and cheap enough that most players run it as their default bleed-stop tool. Surge kits (covered below) can also stop bleeds as a secondary function, so a squad running a mix of bandages and surge kits is rarely caught without an answer to bleeding.
Painkillers: masking broken-limb slowdown, not fixing it

Breaking a limb (from being shot or a bad fall) triggers a limping animation and a real movement speed penalty. Painkillers suppress that penalty for as long as they're active — once they run out, the limp returns until the limb is actually treated with a surgical/surge kit. There are three tiers: the Extended Release Painkiller (one use, 200-second duration), Bottled Antibiotics (three uses, 240 seconds), and the DVA Painkiller — cross-checked here against the item database as the DVE Painkiller, likely the same item under a naming variant — which is the best of the three at five uses and a 360-second duration, and what most players run in normal and hard-mode raids.
Surge kits: the actual fix for broken limbs

While surge kits can stop a bleed in a pinch, their primary job is repairing a broken limb outright rather than just masking it like a painkiller does. The basic option (labeled the "simple surge kit" in this source, catalogued elsewhere as the CMS Surgical Kit) takes a full 10 seconds to use and only has two charges — workable early on, but slow enough that you'll want to upgrade quickly. The Tactical Quick-Use Surgical Kit cuts that to 7 seconds with four charges, and the best option — the DEK Field Surgical Kit (called the "deck surge kit" in the source video) — drops activation to just 5 seconds with seven charges, which is a meaningful difference in an active gunfight where a downed teammate needs fixing fast.
Healing items: recovering lost HP

Cross-checking against the current item database confirms one detail worth correcting from a casual watch of the source video: the Outdoor Med Crate's secondary effect is treating a bleeding wound (for 25 durability), not a general pain-relief buff — the 60-second painkiller effect the source describes actually belongs only to the Field Med Crate, which carries both a wound-treatment function and a Painkiller buff together. Treat the Field Med Crate as the one item that also functions as a painkiller in a pinch; the Outdoor Med Crate does not.
The Basic Injector and Vehicle First Aid Kit are the entry-level healing tools you'll get early — 5 HP per second and a fairly small durability pool, serviceable but slow to matter once you're past the very beginning.

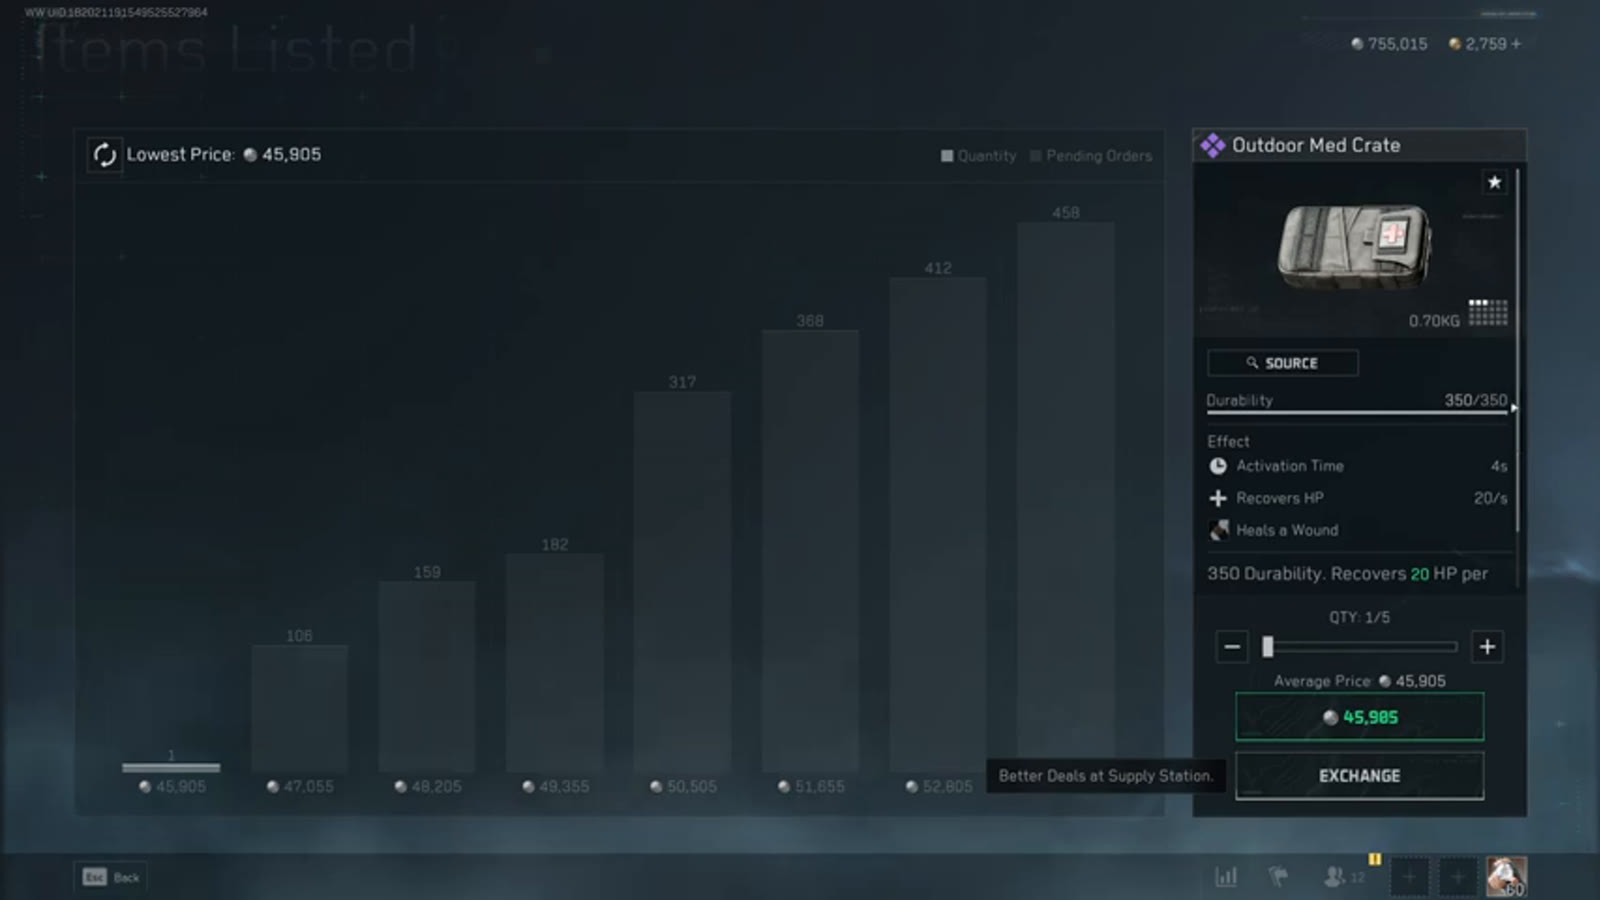
The Enhanced Injector is a clear step up and a strong budget pick among these meds: 12 HP per second, 60 durability, and only a 3-second activation time. The Field First Aid Kit heals faster per second (20 HP) but takes a full 6 seconds to activate, which is long enough in a real fight that many players skip it in favor of the Outdoor Med Crate — the most commonly used heal in the game, with 350 durability, a fast 4-second activation and the wound-treatment secondary effect noted above. The Field Med Crate is the best healing item outright (800 durability, 30 HP per second, a 3.5-second activation, wound treatment plus a 60-second painkiller buff) but takes up a noticeably larger grid space in your backpack, so budget or space-constrained loadouts often lean on the Enhanced Injector or Outdoor Med Crate instead.
Building a medical loadout on a budget vs. going all-in
If you're on a budget, a CAT tourniquet plus a Tactical Quick-Use Surgical Kit plus Bottled Antibiotics covers bleeds, broken limbs and pain cheaply, paired with an Enhanced Injector for HP. Going all-in for a normal or hard-mode raid usually means swapping toward the DEK Field Surgical Kit, a DVA/DVE Painkiller, and an Outdoor Med Crate or Field Med Crate depending on how much grid space you can spare, plus a combat stem if your loadout allows the extra weight. Either way, don't skip stamina stems entirely if you can afford even the cheapest one — running out of stamina mid-chase or mid-escape is one of the more common ways new players lose gear they otherwise would have kept.
How this guide was fact-checked
This guide is sourced from SaltyySavage's "All Consumables EXPLAINED! For New Players In Delta Force" (14:46, published 2025-07-18, around console launch) — noticeably older than most content in this catalogue, but flagged for use specifically because the underlying medical system is unchanged since this video was recorded, which is also why no dedicated 2026 remake of this topic exists among current creators. Every item name, use count, duration, healing rate and durability value was cross-checked against The Delta Force Handbook's medicine reference, which independently confirmed the stamina stem durations (120/180/300 seconds across tiers), painkiller uses and durations, surge kit uses and activation times, and the HP/durability figures for the Basic and Enhanced Injectors, Field First Aid Kit, Outdoor Med Crate and Field Med Crate. Two corrections came out of that cross-check: the Outdoor Med Crate's secondary effect is bleeding treatment rather than a painkiller buff (that buff belongs to the Field Med Crate specifically, as detailed above), and the reference site's naming for several items (CMS/Tactical Quick-Use/DEK Field Surgical Kit, DVE Painkiller, Norepinephrine) differs slightly from the casual names used in the source video (simple/tactical/deck surge kit, DVA Painkiller, "the blue stem") — both names are given here since players may recognize either.
What this guide doesn't answer
This guide doesn't give exact current shop prices for these items, since prices fluctuate with the in-game economy and the source video's prices are from mid-2025 — treat any price mentioned here as a rough historical reference rather than today's cost. It also doesn't cover the Perception Activator/Booster's claimed secondary "healing boost" effect with full confidence: the source video mentions one, but the reference site used for cross-checking lists only a hearing-range increase for these items with no healing component, so that detail is flagged as unconfirmed rather than stated as fact. Finally, it doesn't cover elastic bandage uses, durability or price in detail, since the source video moves past it quickly in favor of the CAT tourniquet.
Read next
Delta Force Season 10 Beginner Guide: Gunsmith, Black Site, Loadouts and Heals Explained
A systems-focused beginner guide for Delta Force Operations: gunsmith and loadout codes, Black Site upgrades, full loadout presets, heals and repair kits, and crates — recorded two days before Season 10's launch.
Delta Force Warfare Mode Beginner Guide: Classes, Objectives and Map Fundamentals
How Warfare's 64-player, objective-based mode differs from Operations: the four classes, reading open vs close-quarters map areas, and how to position by class during a push.